Finally, the spooky season has arrived again. That means it’s time for designers & makers to show their creativity in new spooky designs.
To help you with some inspiration & design possibilities we made this simple – yet fun & cool 3D print to spook up your atmosphere during this season.
Because this 3D print contains a lithophane – Which can be easily designed – This Halloween lantern can be personalized with every image you would like to display. The possibilities are endless for this 3D print, which makes it fun to make!
1
The first step for making your Halloween Lithophane Lantern is by designing your own lithophane. If you have never done this, here is a quick Youtube tutorial on how to make one yourself!
For the Halloween Lithophane Lantern we need to use the cylinder shape, so let’s go make one!
You can click on this profile to load the correct shape into ItsLitho and load all the correct settings instantly.
The only operation you have to do is to integrate your own picture to create your personalized lithophane and to adjust your min & max thickness depending on the filament you’ll use to print the lithophane.
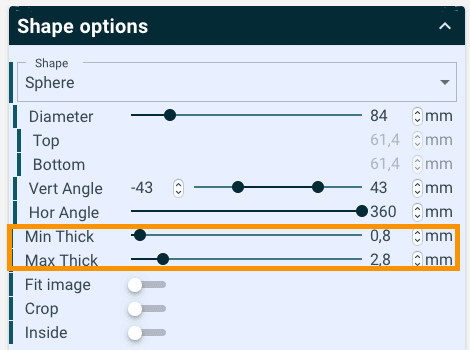
To ensure a proper fit of your image on the cylindrical Lantern Lithophane, it needs to have the proper ratio (Height:Length). For this model, the ratio should be 1:4,2, meaning the image should have a length 4,2 time bigger than its height.

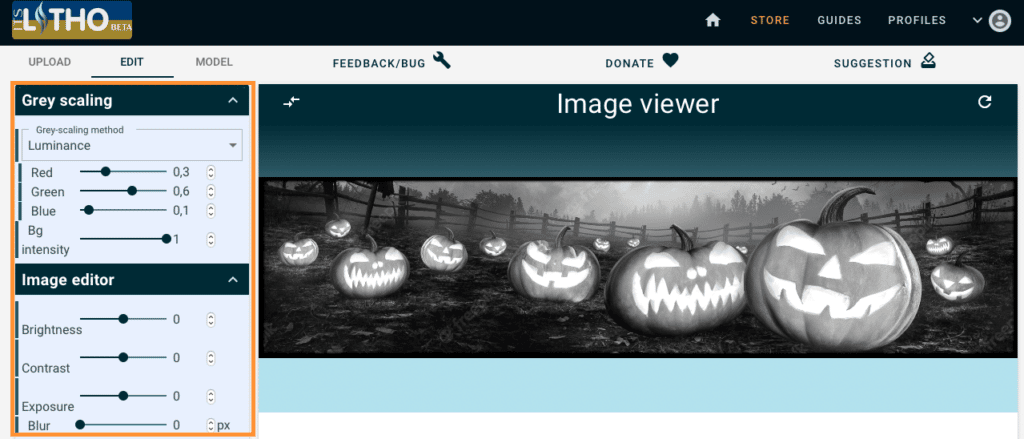
After this first operation, you can play on image settings to improve brightness, contrast or any other parameter.
2
After downloading your lithophane, we need to download the Halloween Lithophane Lantern model from Cults3D.
The download package contains:
Now we got all the files we need, so let’s slice & print the models.
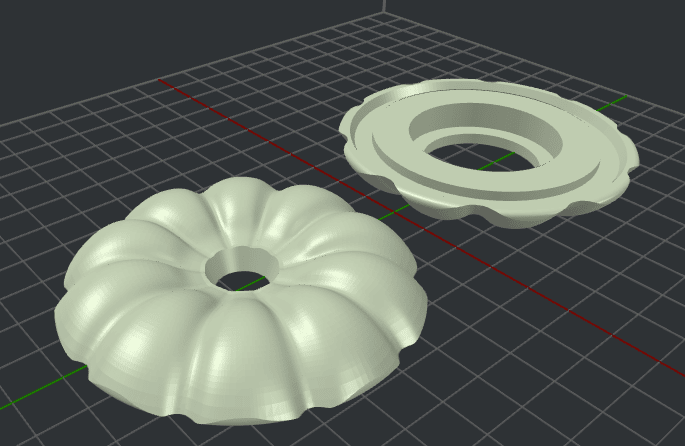
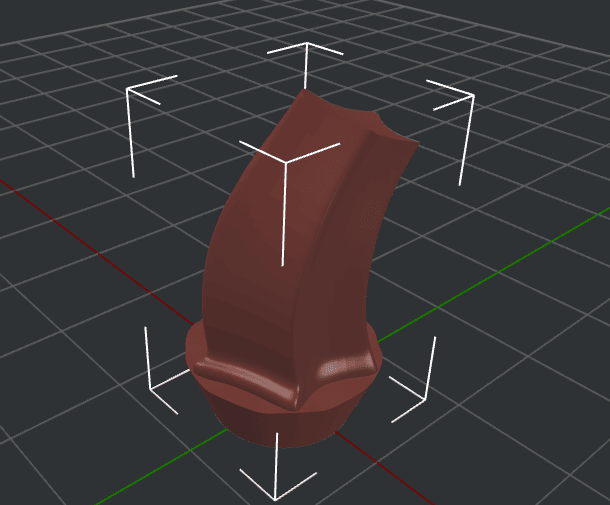
For the base, the top, and the tail, please print them flat on the building plate. Nothing complex, just open, slice & print.
For extra slice tips, we made a tips & tricks guide for tweaking your lithophane to perfection.
3
When all parts are printed, you can assemble the Lantern.
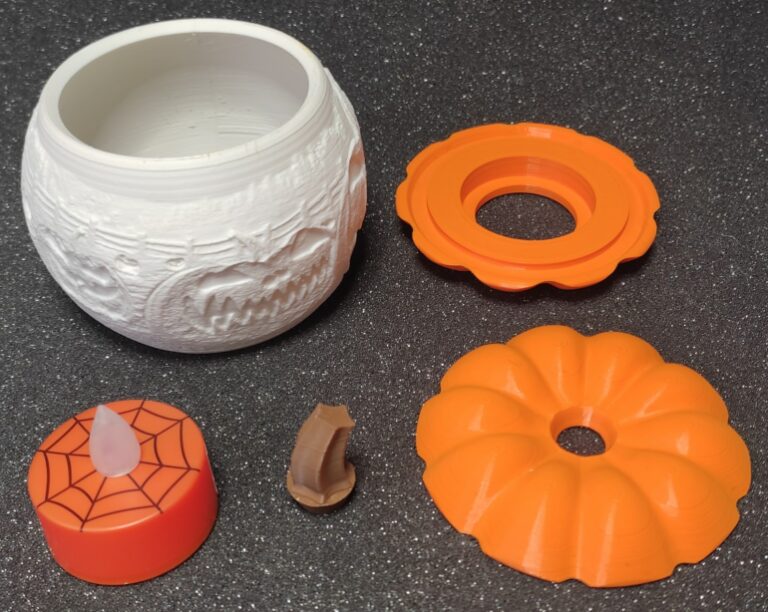
To do this, you’ll need some glue. For the assembly, please refer to the following picture.
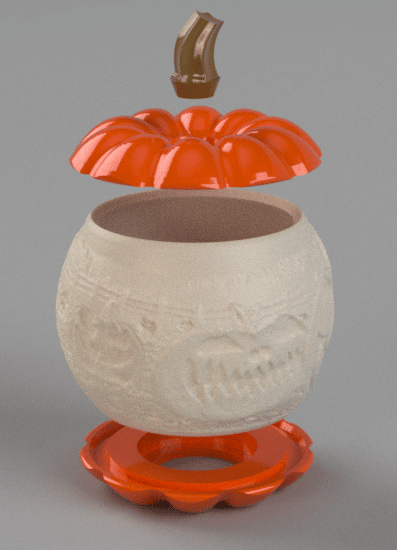
First glue the tail on the top. You can then choose to glue the lithophane either on the top or on the bottom. But not on both if no you won’t be able to insert and switch the led candle. You can now insert your candle and see the Halloween magic operates. And it’s done!

Enjoy! If you are interested in more Halloween prints you could take a look at our pumpkin lithophane shape!