Creating the perfect 3D-printed lithophane can be quite challenging. A lot of factors have an influence on the quality of your lithophane. So where to begin?
With this post, we’ll try to help you in your journey of creating your best lithophane! As the title of the post already suggests, it’s a trial & error process. But we have good news, a lot of lithophane makers preceded you in this journey.
So with all the experience from the community, this post will provide you with some good starting points & highlight the most important settings to tweak them.
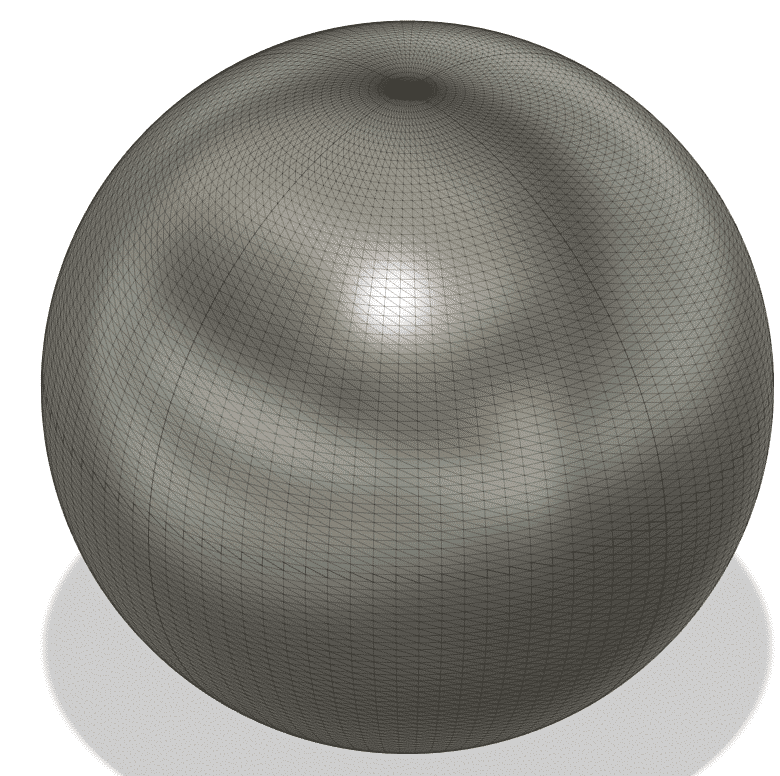
Your 3D-model is made up of many points (vertexes) and triangles (faces) connecting these points together. An STL file will contain only this information and is the pefered format to save models in because of the relatively small file sizes you can get. Lithophanes often have many many of these points and triangles to make sure that your image comes out nicely to account for every pixel in your image. Lithophanes can even have many millions of points and triangles making up the 3D-model, which is what makes the file size of lithophanes so large.
In the image below you can see a 3D-model of a sphere consisting of many triangles (lines).
Now we know what a 3D model is, and what it’s made of, we can continue on to what slicers are and why we even need slicers.
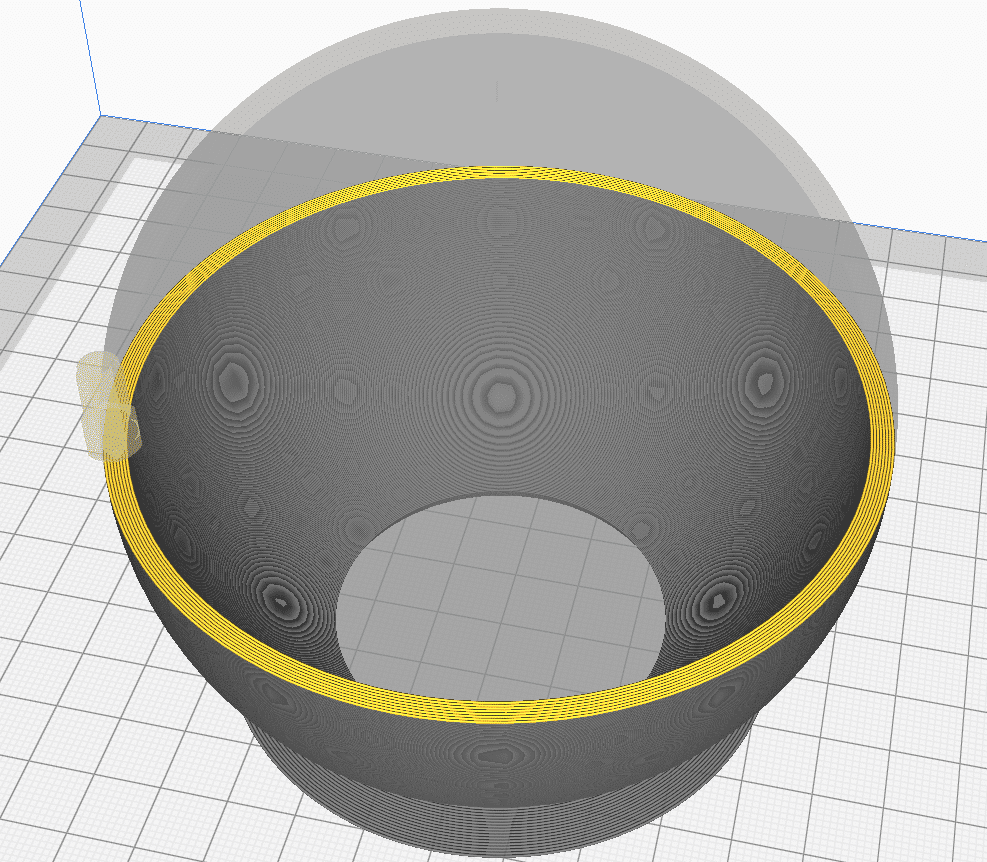
There are multiple slicers out there but they essentially, down to their core, all do the same. Slicers “slice” your 3D model into many layers and lines. This must be done because your 3D printer does not understand what it should do with a 3D model. The 3D printer must specifically be told to move from one position to another position while extruding (pushing out) a certain amount of plastic.
This is just the basics of what a slicer does. It converts your 3D model (STL file) into a file format the 3D-printer understands (code file) where instructions for the 3D-printer are stored. There are many factors that are very important in creating a successful print. So much so that we cannot cover them all. Every 3D printer is different and will therefore require different slicer settings. To make matter worse, even every plastic from different companies are different as well and require some tweaking in the slicer to get a satisfying result.
Fear not! We’ll go over the most important slicer settings for the most used slicers to help you get great lithophane prints!
We now know that we need additional software to convert our lithophanes into a gcode file which the printer will understand. We will highlight the most important settings to tweak to get an amazing lithophane print. But before we do we’d like to mention the most widely used slicers to this day, which are:
Let’s head over to the most important slicer settings for lithophanes.
A lithophane works by varying the thickness of the 3D model, such that an image will appear when light is shining through it. If the 3D print is hollow from the inside, then you’ll not meet this requirement. The 3D print should be 100% solid from the inside. There’s an endless debate in the 3D lithophane community about the best way is to make sure the 3D print is solid, either 100% infill or many shell(wall) perimeters.
The first method is to increase the infill percentage to 99%. This will make sure that the inside of the model is solid. We do not use 100% because this can increase the printing time significantly, try setting your infill percentage 100% and then 99% to see the significant time reduction you’ll get by setting the infill percentage to 99% instead of 100%, without the inside of the print not being solid anymore.
The next possibility is to increase the number of shells/walls to let’s say 99 and reduce the infill percentage to 0%. If you do so you can make sure that your entire lithophane is a wall. The advantage of using this method is that all lines will roughly follow the contours of the lithophane. Moreover, if you enable a frame you can reduce the filament usage by using a certain number of shells and 0% infill. If you have a max thickness of 3.2 mm, a frame depth of 5 mm, and a wall thickness per shell of 0.4 mm, then you can set the number of shells to max thickness/wall thickness / 2. The division of 2 is there because we have walls on both sides of the lithophane. By doing so the frame will not become entirely solid, which will save time, filament, and hence money.
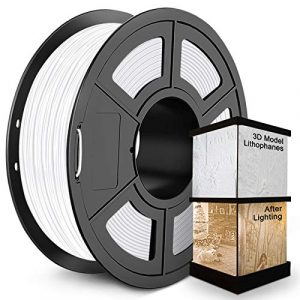
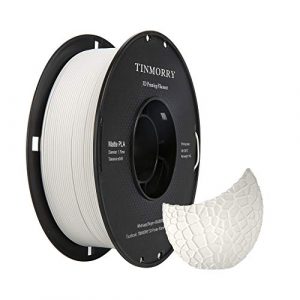
What Filament you use for your lithophane is also important. In general white & silver/grey filaments will work the best. But every filament has their own sweet spot when i comes to the minimum & maximum thickness.
To know what are the best parameters to use for your filament you can use a lithophane calibration test print. Before printing a whole lithophane we suggest to print this, to see for yourself what your preferred parameters would be. This will spare you a lot of filament before testing the same lithophane over & over again.
In our filament store we also provide the sweet spot per filament in the additional information section. All the filaments in our store are known the work great with lithophanes.
The best lithophanes are made by printing them slowly. In general the slower the better the result will be. Therefore it is a CONSIDERATION between time and quality. We like to print at 45 mm/s but this is already pretty fast for lithophanes, however, we get good results without losing too much detail. We would advise printing at 30 mm/s to get the best results.
One of the most important parameters in determining the quality of your final lithophane is the layer height. The coarsest you can go without the lithophane looking too bad will be roughly 0.2 mm layer height, but for more detailed lithophanes, as with the print speed, the lower you go the better it will be for the quality of the lithophane. We use a layer height of 0.12 mm, which is a sweet spot for us between the quality and the time it takes to print a lithophane. You might think that 0.12 mm is an odd number, why not pick 0.1? That is because our machine (Creality Ender 3, see our store) has increments of 0.04 mm for the z-axis (up/down), which could be different for every 3D printer. As you may already have noticed 0.04 mm fits perfectly in 0.12 without having to round, therefore layer heights being intervals of 0.04 work better than layer heights not being intervals.
If you print a flat plane or an arc lithophane, then the area of adhesion will be small. Especially while looking at the dimensions in the other directions. Therefore, it is generally good practise to help the lithophane adhere better to the print bed by using a brim. A brim will also help in making the lithophane more stable! A raft is generally a worse option because it can be really really hard to peel of a raft from the underside of a lithophane.
Normally you don’t want to use supports with a lithophane as it can automatically place supports in the lithophane which will screw up the lithophane. But for some lithophane shapes supports are needed, such as for the circular, Christmas star, and heart shapes. So how to make sure it only places support at the right places?
We will explain the settings for Cura as we do not use PrucaSlicer or Simply3D. However, these slicers should have similar settings. It often is just trying to find what works for you.
In Cura, you should first enable the supports. Make sure the support placement is on the “touching build plate”. This will, in part, make sure that no supports are being generated inside the lithophane. One of the most important settings to get right next is the “support overhang angle”. This setting determines what angle supports should be placed. Usually, 3D printers can print overhang angles of over 60 degrees. We use this set of 60 degrees to make sure the lithophane is supported and the overhangs can be properly printed. The next setting is the support pattern. Generally, all patterns work except for the line and cross pattern. We would advise going for “concentric” as this places a single perimeter that is easy to remove and provides the structural strength to make sure the lithophane is stable.
The last important setting is to disable “use towers”, this will make sure that Cura will not try to print support towers somewhere inside the lithophane.
ItsLitho automatically rotates your print to be along the y-axis of your print bed. Furthermore, ItsLitho automatically makes sure that your lithophane is standing up (vertical). This is no coincidence! These rotations and positioning will yield the best quality of your lithophane. But why you may ask.
You should always print your lithophanes standing up (vertical). The reason is that your printer has a much higher resolution in the x,y-plane (so the horizontal) compared to the z-axis, which will have increments of your specified layer height. Therefore, you’ll be able to see contours if you print the lithophane flat on the bed. These will appear as a loss of detail.
Secondly you should print your lithophanes along the y-axis, as you can see in the images. The reason for this is not to impove the quality of your lithophane, instead it is used for stability reasons! On most printers the bed will move over the y-axis. Printing the lithophane orientated over the x-axis will make the lithophane wobble a bit. For small lithophanes this is usually not a problem. However, if you print a large lithophane, it might make your lithophane unstable and fall over, which would be a waste. The lithophane has much more stability in movements over the y direction if the lithophane is printed along the y-axis!
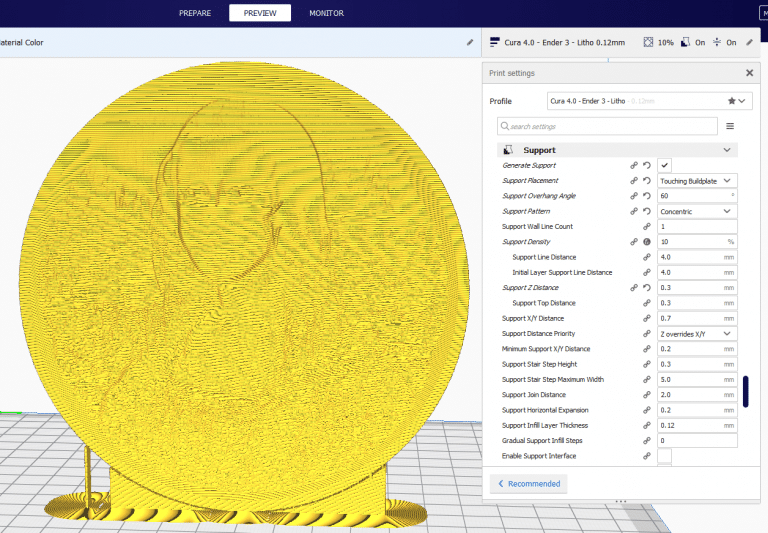
Printing tips for circular lithophane. You might be tempted to print the circular lithophane flat because standing up vertically will be more challenging to print it without the lithophane falling over or fail in another way. However, you will lose a lot of detail if you print it flat! There is a way to print it vertical without failing by using supports, please read the section about supports below!
With these settings, you should be ready to print a circular lithophane vertically and prevent it from falling over.
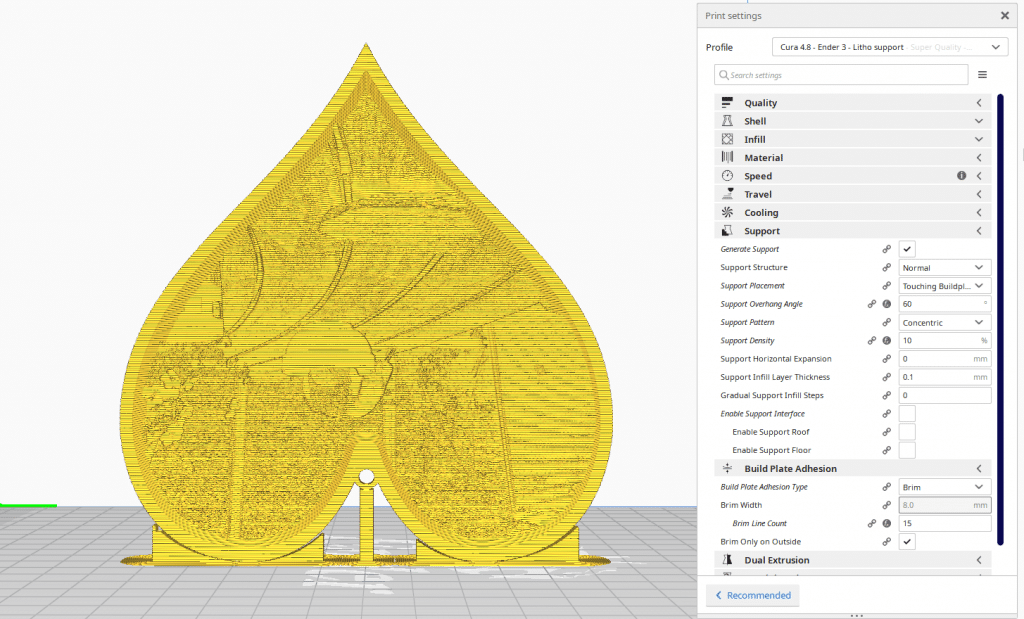
The valentine heart lithophane shapes also requires some additional settings in the slicers to print it well. The first and most important printing tip is to print the heart upside down! If no hook attribute is selected, then it will not need any supports if printed upside down!
However, if you did enable the hook attribute then the heart does need supports. The support settings which can be used are described below in the section supports.

Free online designing software that helps you create high-quality 3D printed lithophanes. It’s a simple yet powerful cross-platform lithophane maker.