3D Printed Halloween Pumpkin Lithophane (2024 Update)
By ItsLitho
Last Updated: October 31, 2024
Home » Guides » 3D Printed Halloween Pumpkin Lithophane (2024 Update)
In this guide, we will explain how to create a 3D printed Halloween lithophane perfect for scaring your neighbors! With ItsLitho it’s easy to create this Pumpkin shaped lithophane.
Contents
3D Printed Halloween Pumpkin Lithophane
Create your own 3D Printed Halloween Pumpkin
We can find numerous amount of pumpkin 3D prints on Thingiverse. But what if we want to adjust the face – or you would like to have a witch, ghost, or someone from your family on the 3D Printed pumpkin?
When done manually this would take a lot of your precious time. But with the Pumpkin shaped lithophane from ItsLitho this can be done in seconds!
ItsLitho is lithophane maker software, that helps you to convert every image into a 3D printable model. And with the pumpkin shape, you can print every image on your Halloween pumpkin lithophane!
This guide will help you how to make a good-looking pumpkin lithophane. The pumpkin shape has many parameters – that would need some explanation -to adjust the look of the pumpkin, but don’t be scared, we help you through it.
$18.99Original price was: $18.99.$12.99Current price is: $12.99.
1
3D Printed Halloween Lithophane Lantern
Personalize Your Halloween Lithophane
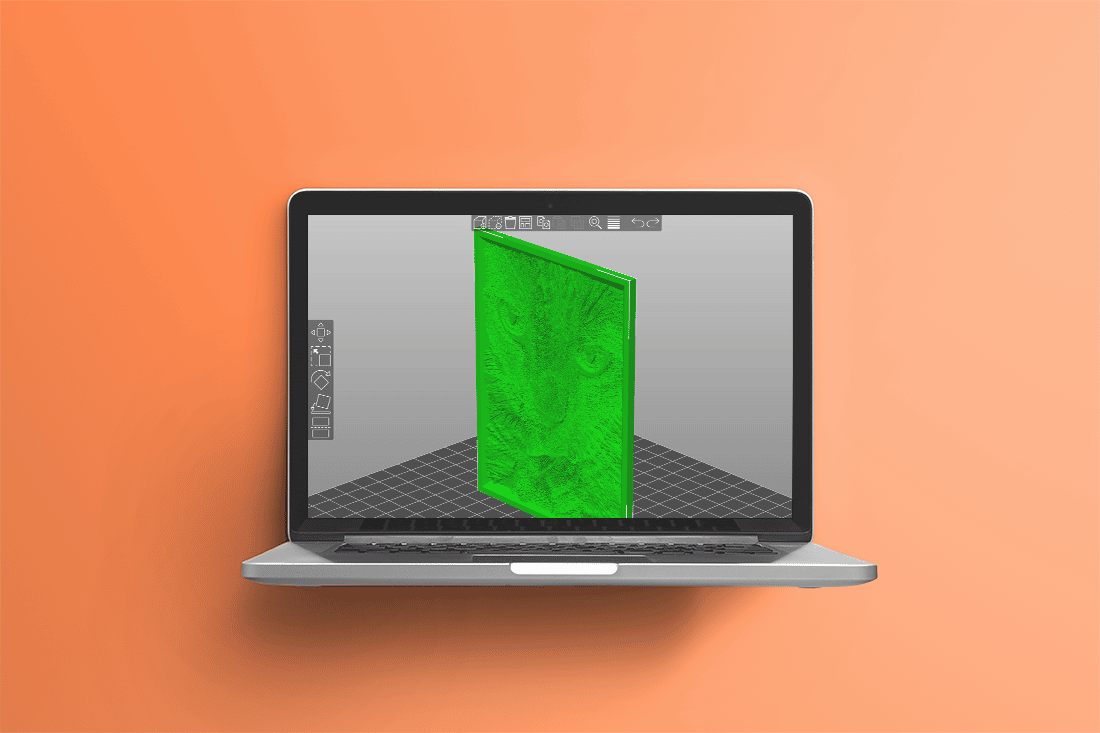
The first step for making your Halloween pumpkin Lithophane is by designing your lithophane. If you have never done this, here is a quick Youtube tutorial on how to make one yourself!
For the Halloween Pumpkin Lithophane we need to use the pumpkin shape, so let’s go make one!
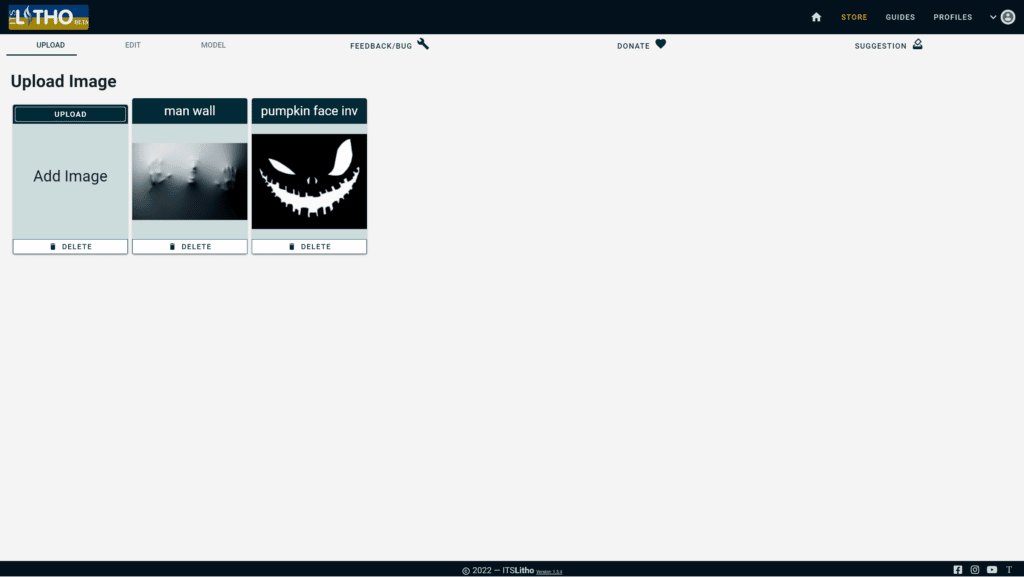
Prepare your image(s)
Upload the image you want to convert into a lithophane. The scary face image we used can be found via this link. You can also load this profile to load the whole print we made directly into itslitho.
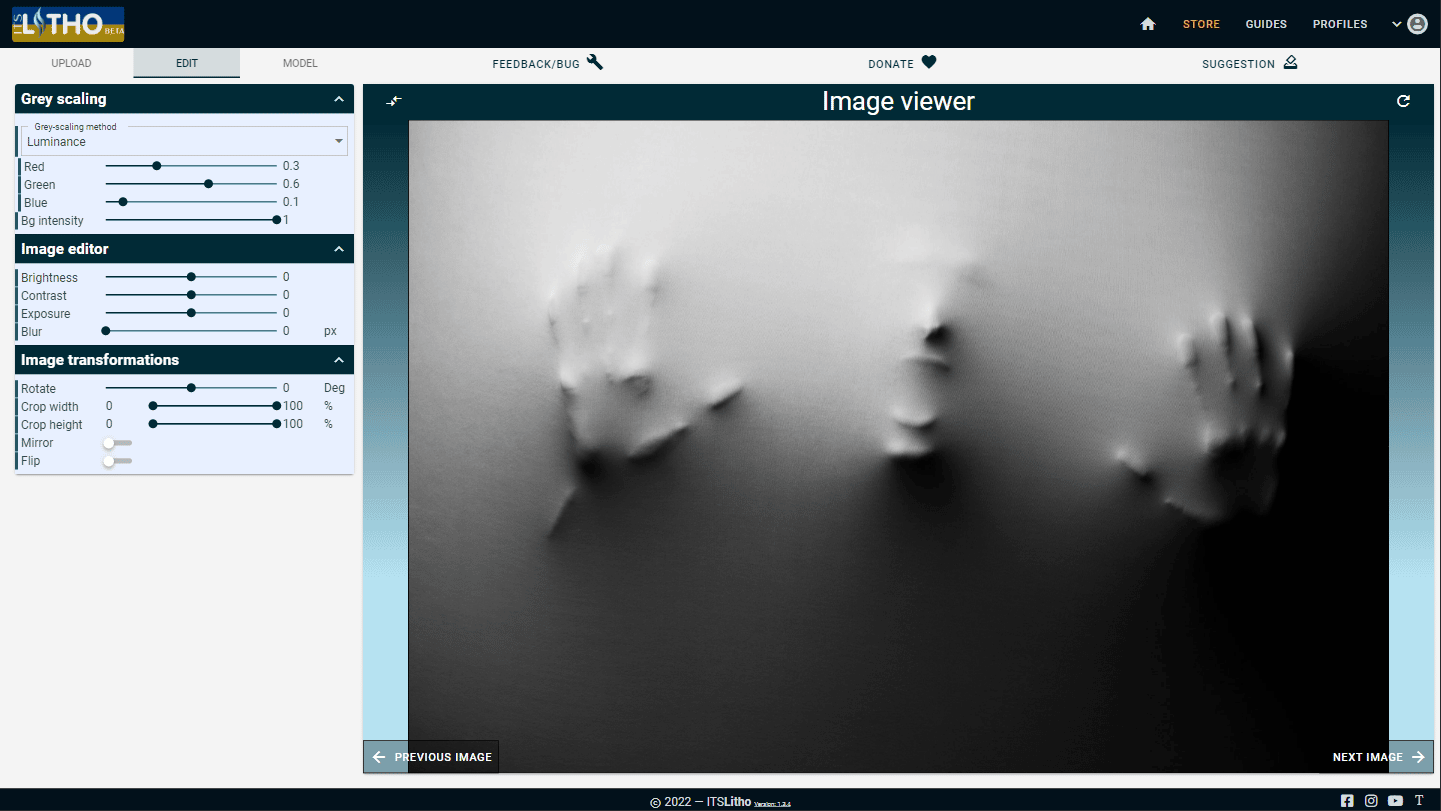
Edit your image(s)
Editing your image can really enhance the contrast of the lithophane later on.
This is optional however, but you can always play around with the above parameters to make the contrast come our better
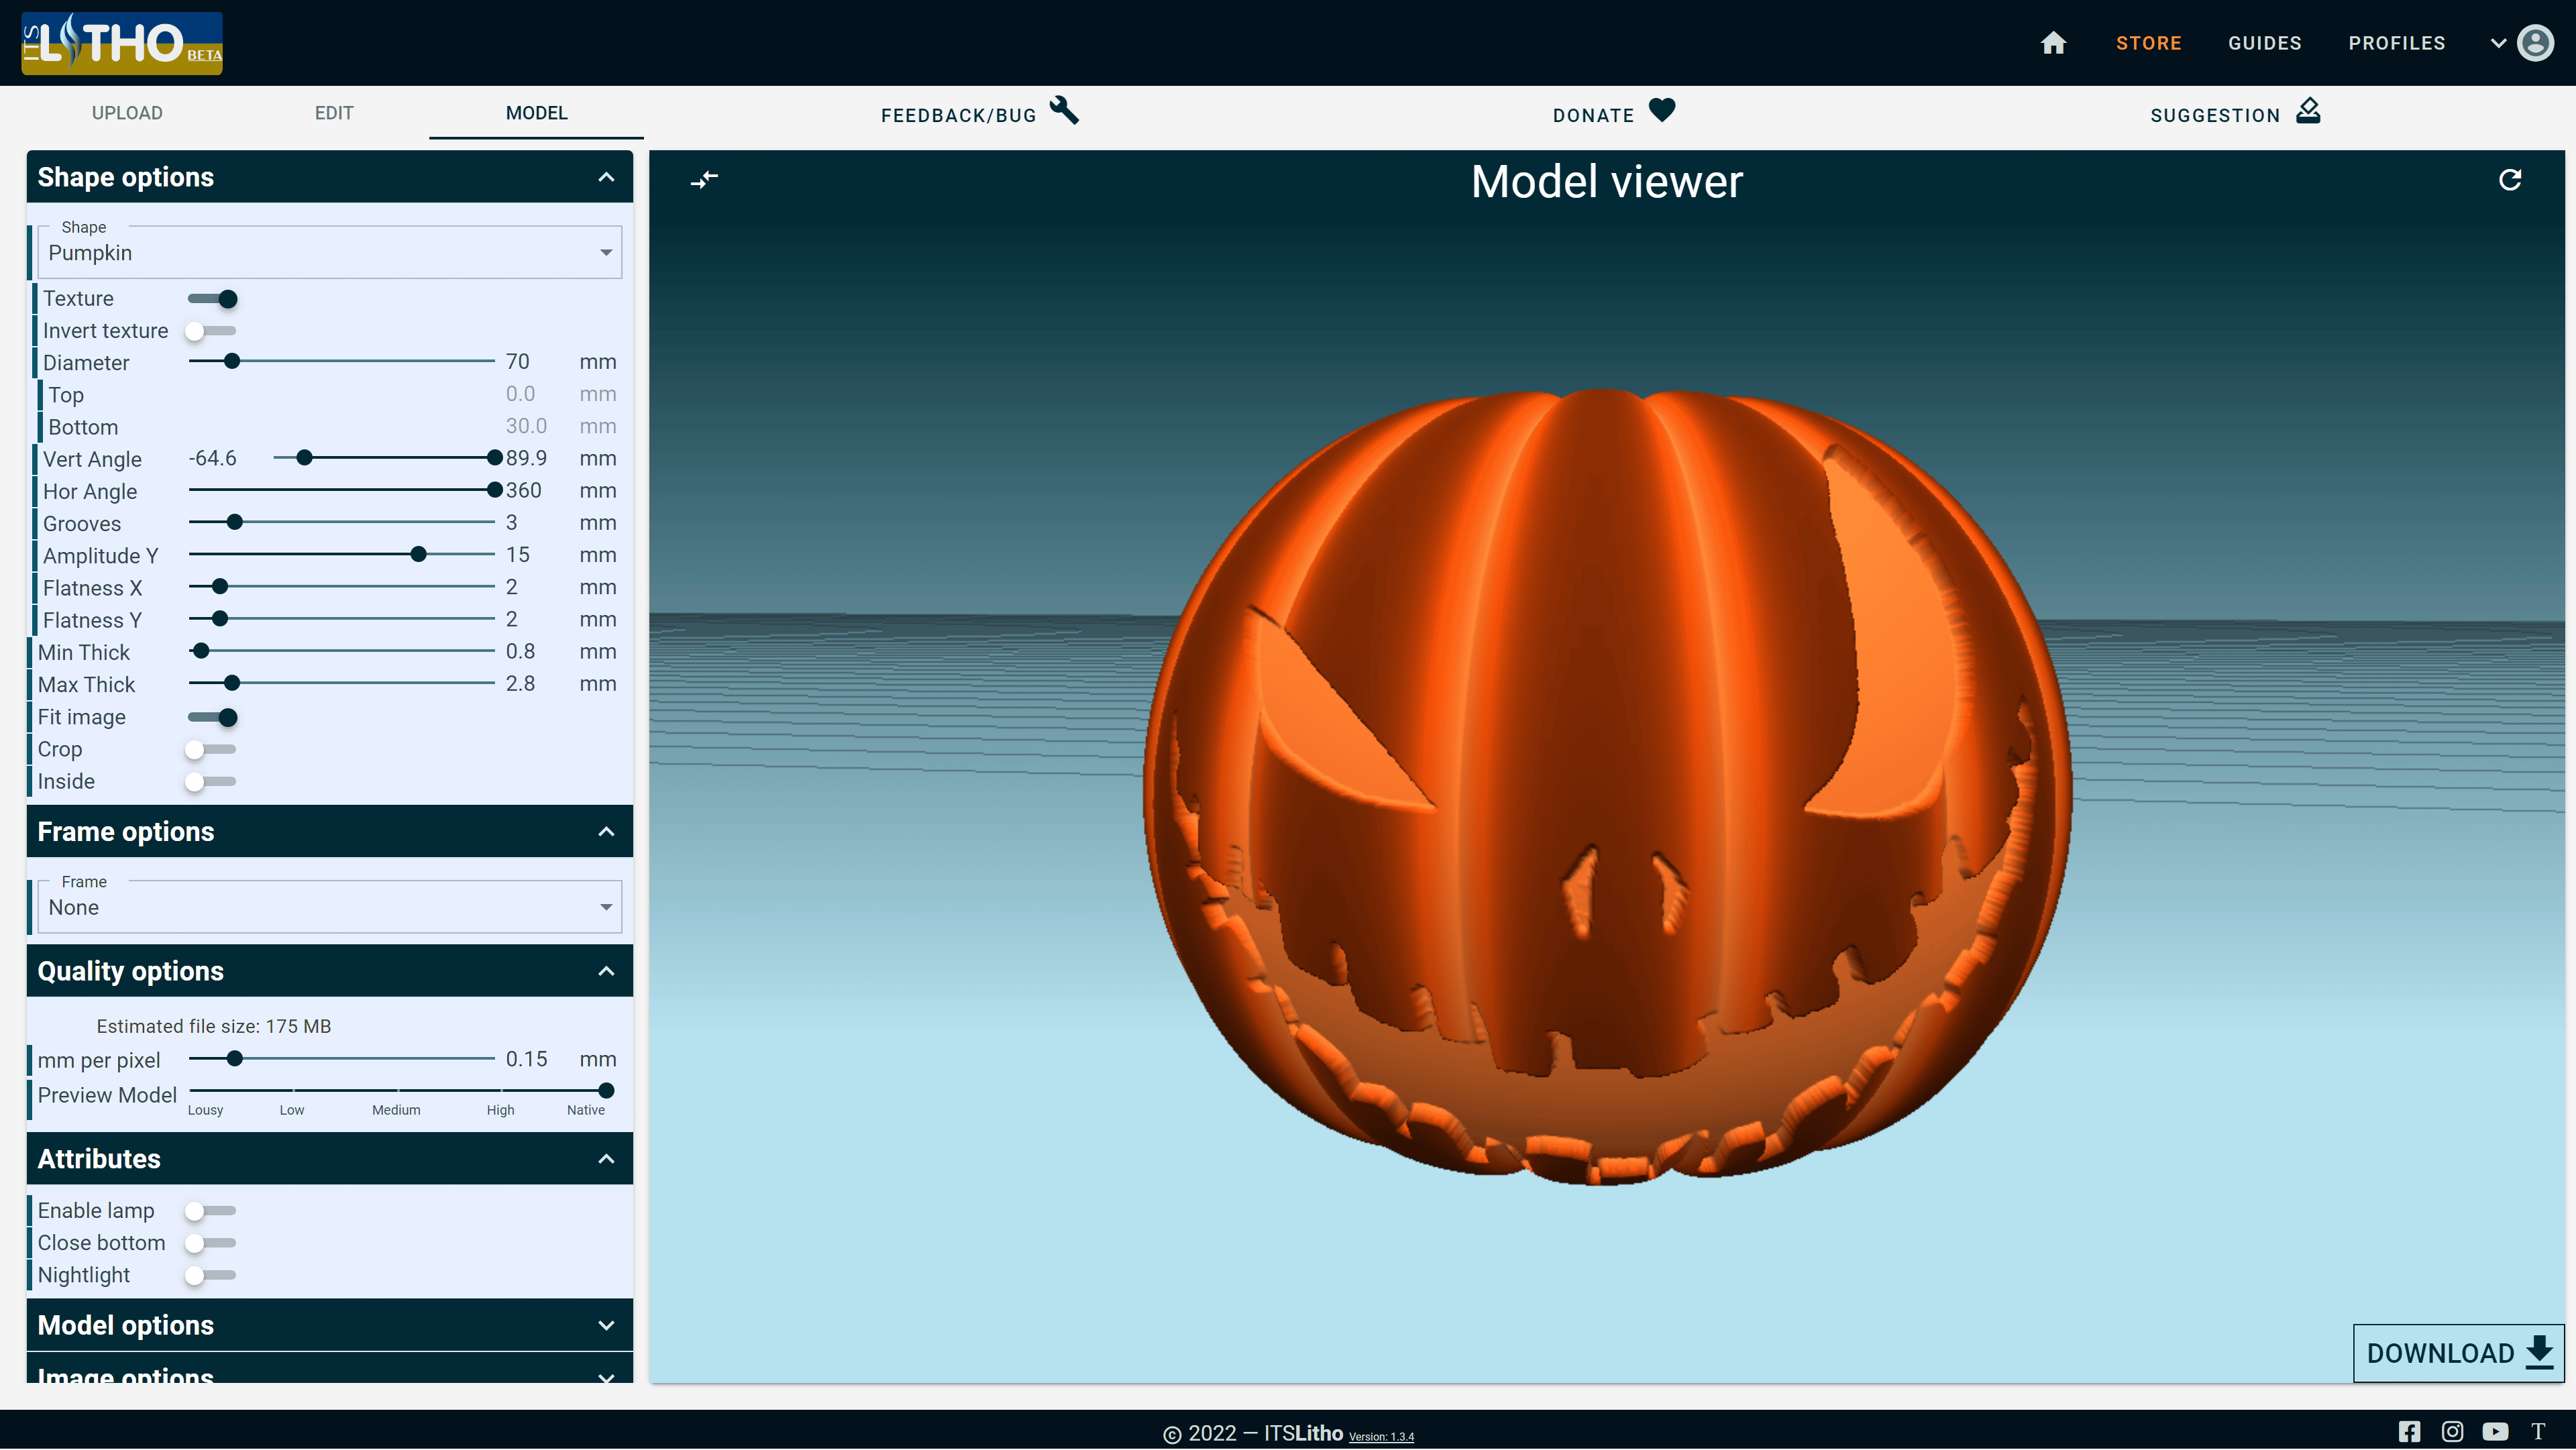
Model your Pumpkin Lithophane
When selecting the pumpkin shape you already converted your images on the pumpkin shape. When you have used your own image(s), it’s very possible the image is stretched over the entire pumpkin, this is undesired. Let’s fix that!
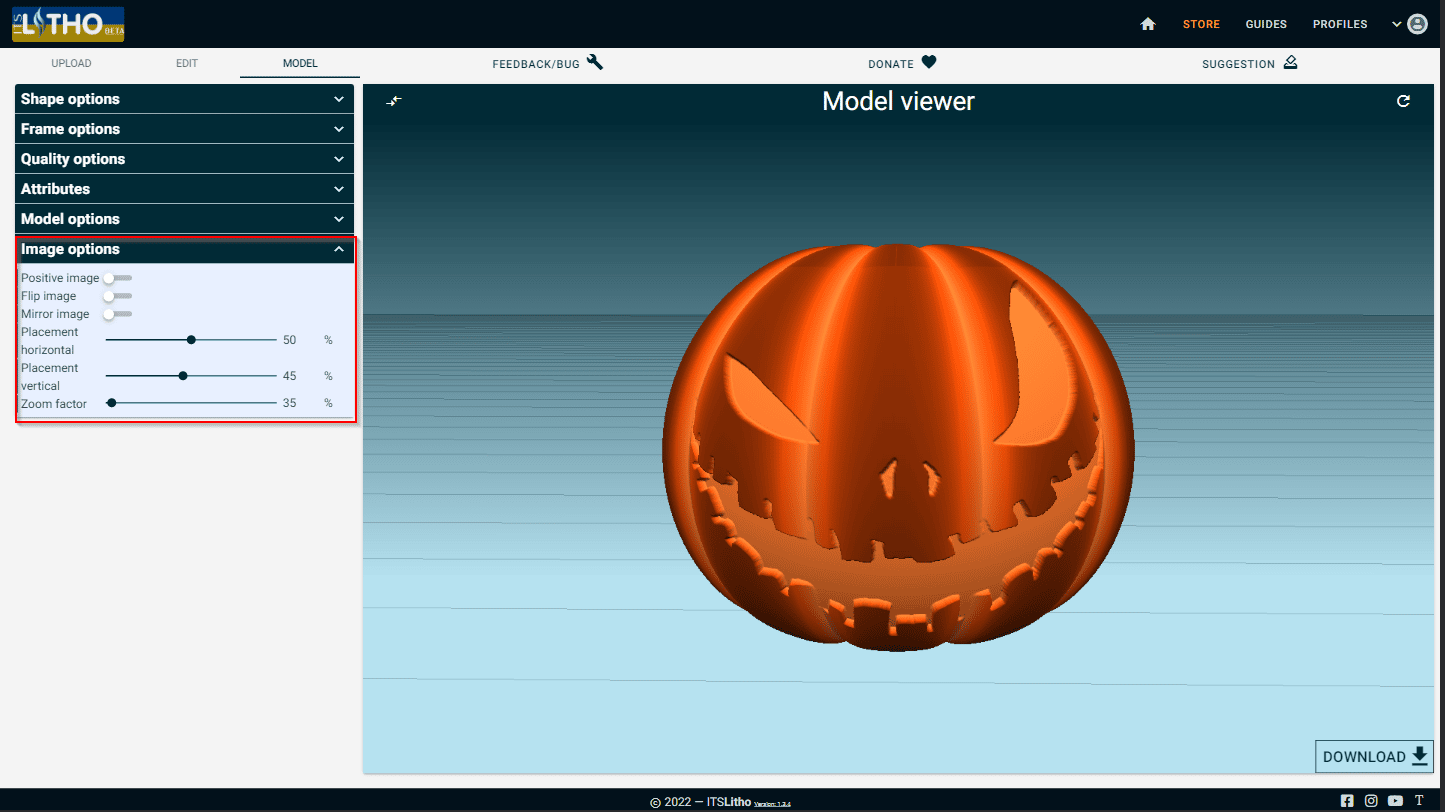
Image Correction
Head over to the Image Options. Here you’ll find some handy tools to adjust your image on the 3D model. For this specific scenario, we decreased the zoom factor since the image was way too big for the model. We also adjusted the horizontal placement to lower the image on the pumpkin a bit.
Customize your Pumpkin Lithophane even more
For those who likes a lot of options, we made a lot of adjustable settings for this pumpkin shape on ItsLitho. These options will give you full control over the pumpkin shape. We will explain these options below.
Detailed Pumpkin Settings
Most Important Settings
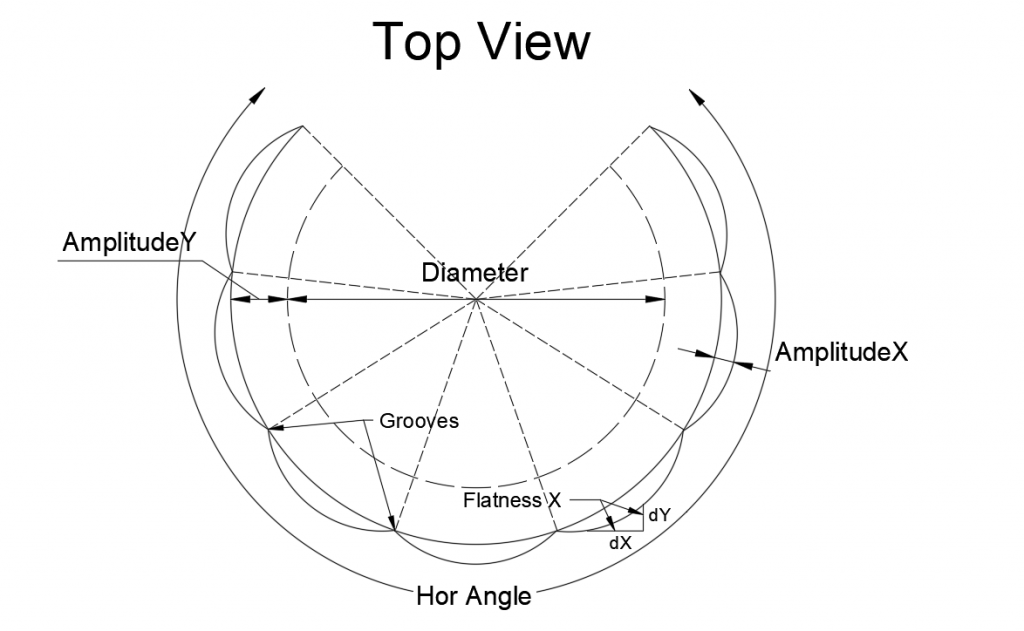
We’ll first briefly explain the settings which will make up your pumpkin lithophane. The cad drawings below will help you understand what each parameter means.
Texture
By default, this setting is turned on. This means that the texture of the pumpkin itself will be visible in the results. On the other hand, when it is turned off, then the pumpkin will have the same thickness everywhere on the pumpkin. The lithophane is placed on top of the pumpkin. The pumpkin “texture” will not be visible inside the picture.
Invert texture
This function has multiple meanings based on whether the texture is turned off or on. If the texture is turned on, then this option will remove the pumpkin texture from the image, but not the other parts of the pumpkin. If the texture is turned off and this function is on, then the pumpkin which is not the image will be the maximum thickness.
Diameter
The pumpkin will never be smaller than the value given to the diameter. A perfect sphere can always fit inside the pumpkin with the given diameter. This sphere acts as the basis of the pumpkin
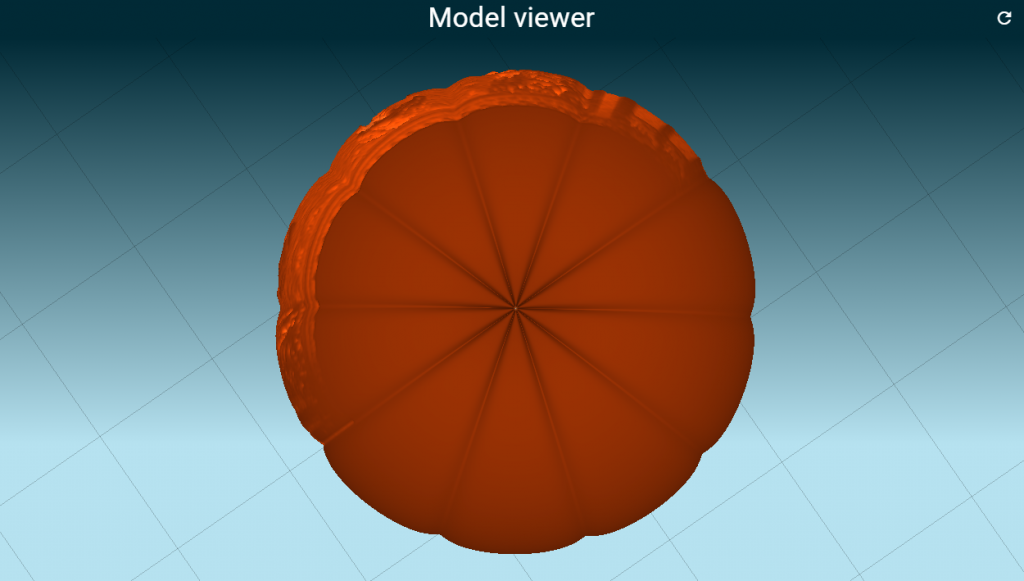
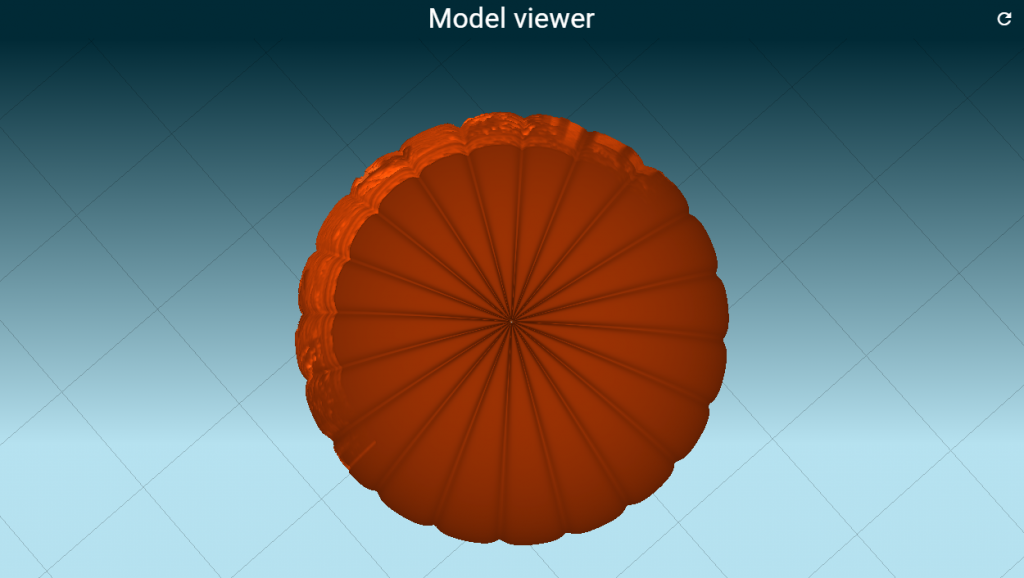
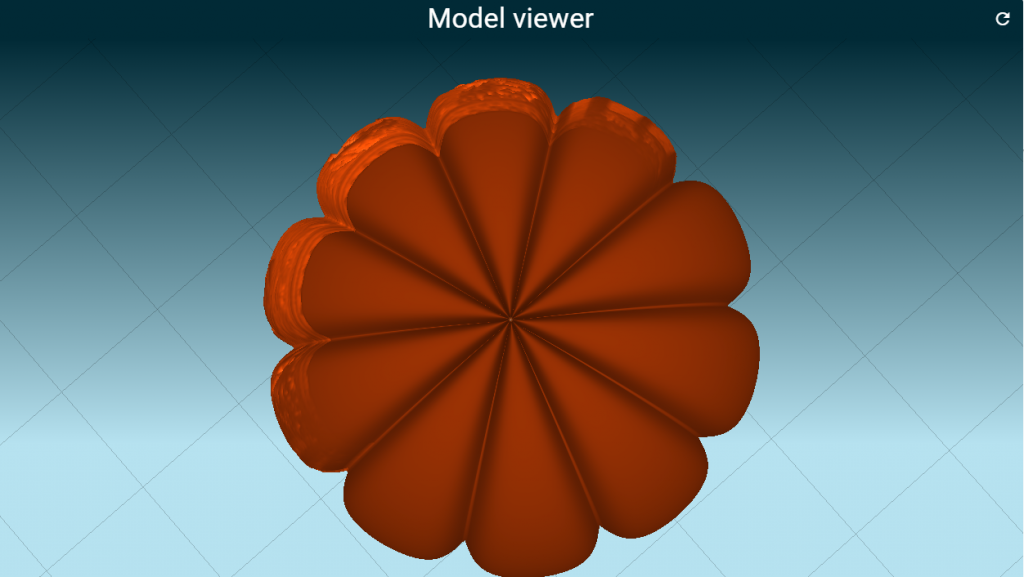
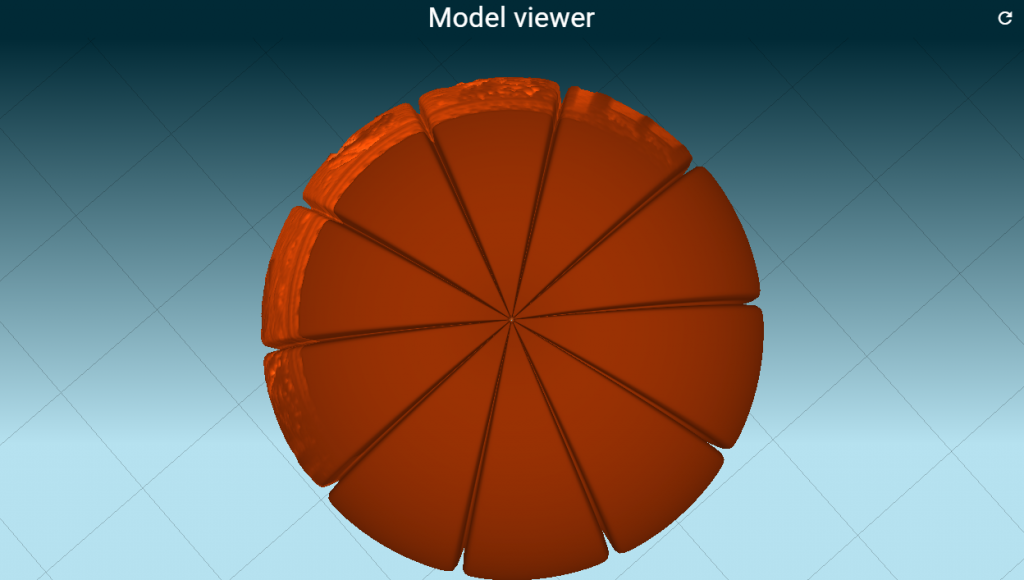
Grooves
The number of grooves each picture has on the pumpkin shape. Increasing this number will increase the pumpkin segments.
Default settings (Grooves = 5)
Grooves option is set to 10
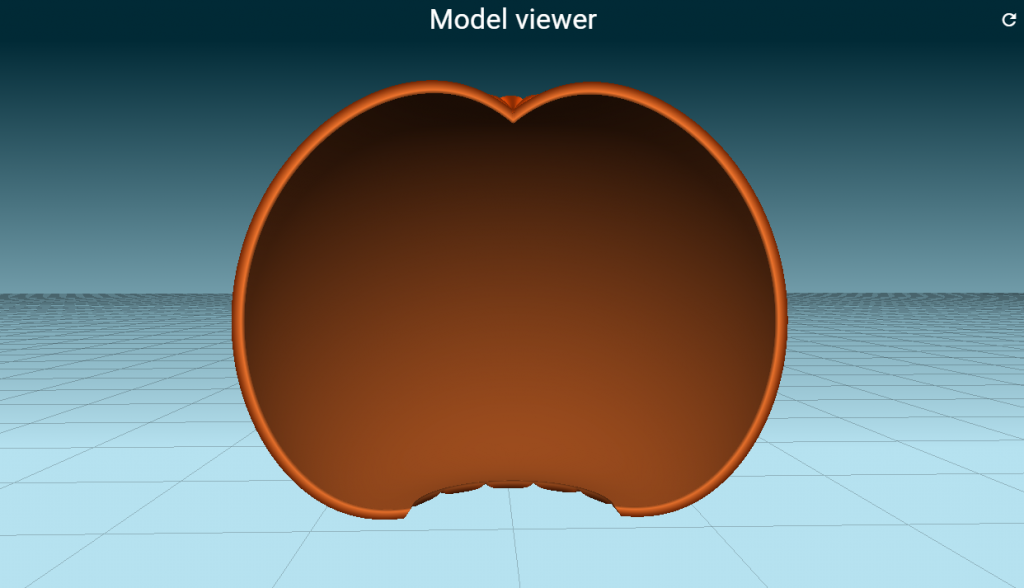
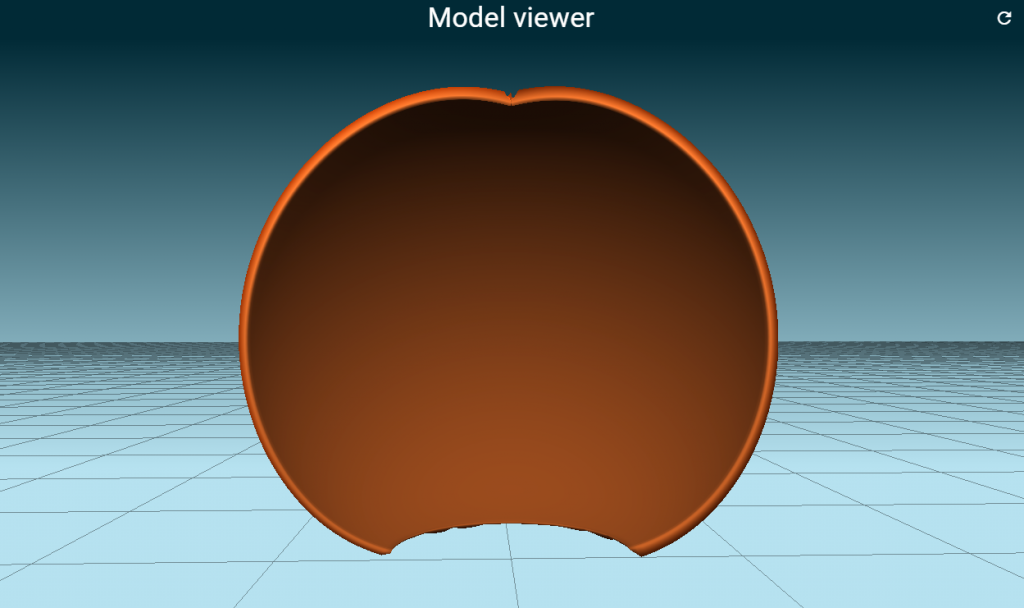
AmplitudeY
Pumpkins are never a perfect sphere. Thus the amplitudeY setting will create the widened oval-like part of the pumpkin. Increasing this parameter will make the pumpkin more oval-shaped.
Default settings (AmplitudeY = 15)
AmplitudeY option is reduced to 5
FlatnessY
Determines how much the curved line is flattened. A high number will increase the magnitude in which the curve is flattened.
Default settings (FlatnessY= 2)
FlatnessY option is set to 20
AmplitudeX
Pumpkins are also not smooth. The amplitudeX setting will create a curved texture completing a pumpkin-like shape. If the texture is turned on (it is by default) then the amplitudeX setting is not visible anymore. Instead, the maximum thickness of the lithophane will govern the magnitude of the curve.
Default settings (AmplitudeX = 2)
Amplitude option set to 10 mm
FlatnessX
Determines how much the curved line is flattened. A high number will increase the magnitude in which the curve is flattened;
Default settings (FlatnessX= 2)
FlatnessX option is set to 20
Hor Angle
Determines the horizontal angle of the pumpkin. This way the pumpkin can be opened.
Vert Angle
This option has 2 inputs. It measures the vertical angle from the middle (in the vertical) to either the bottom or top of the lithophane.
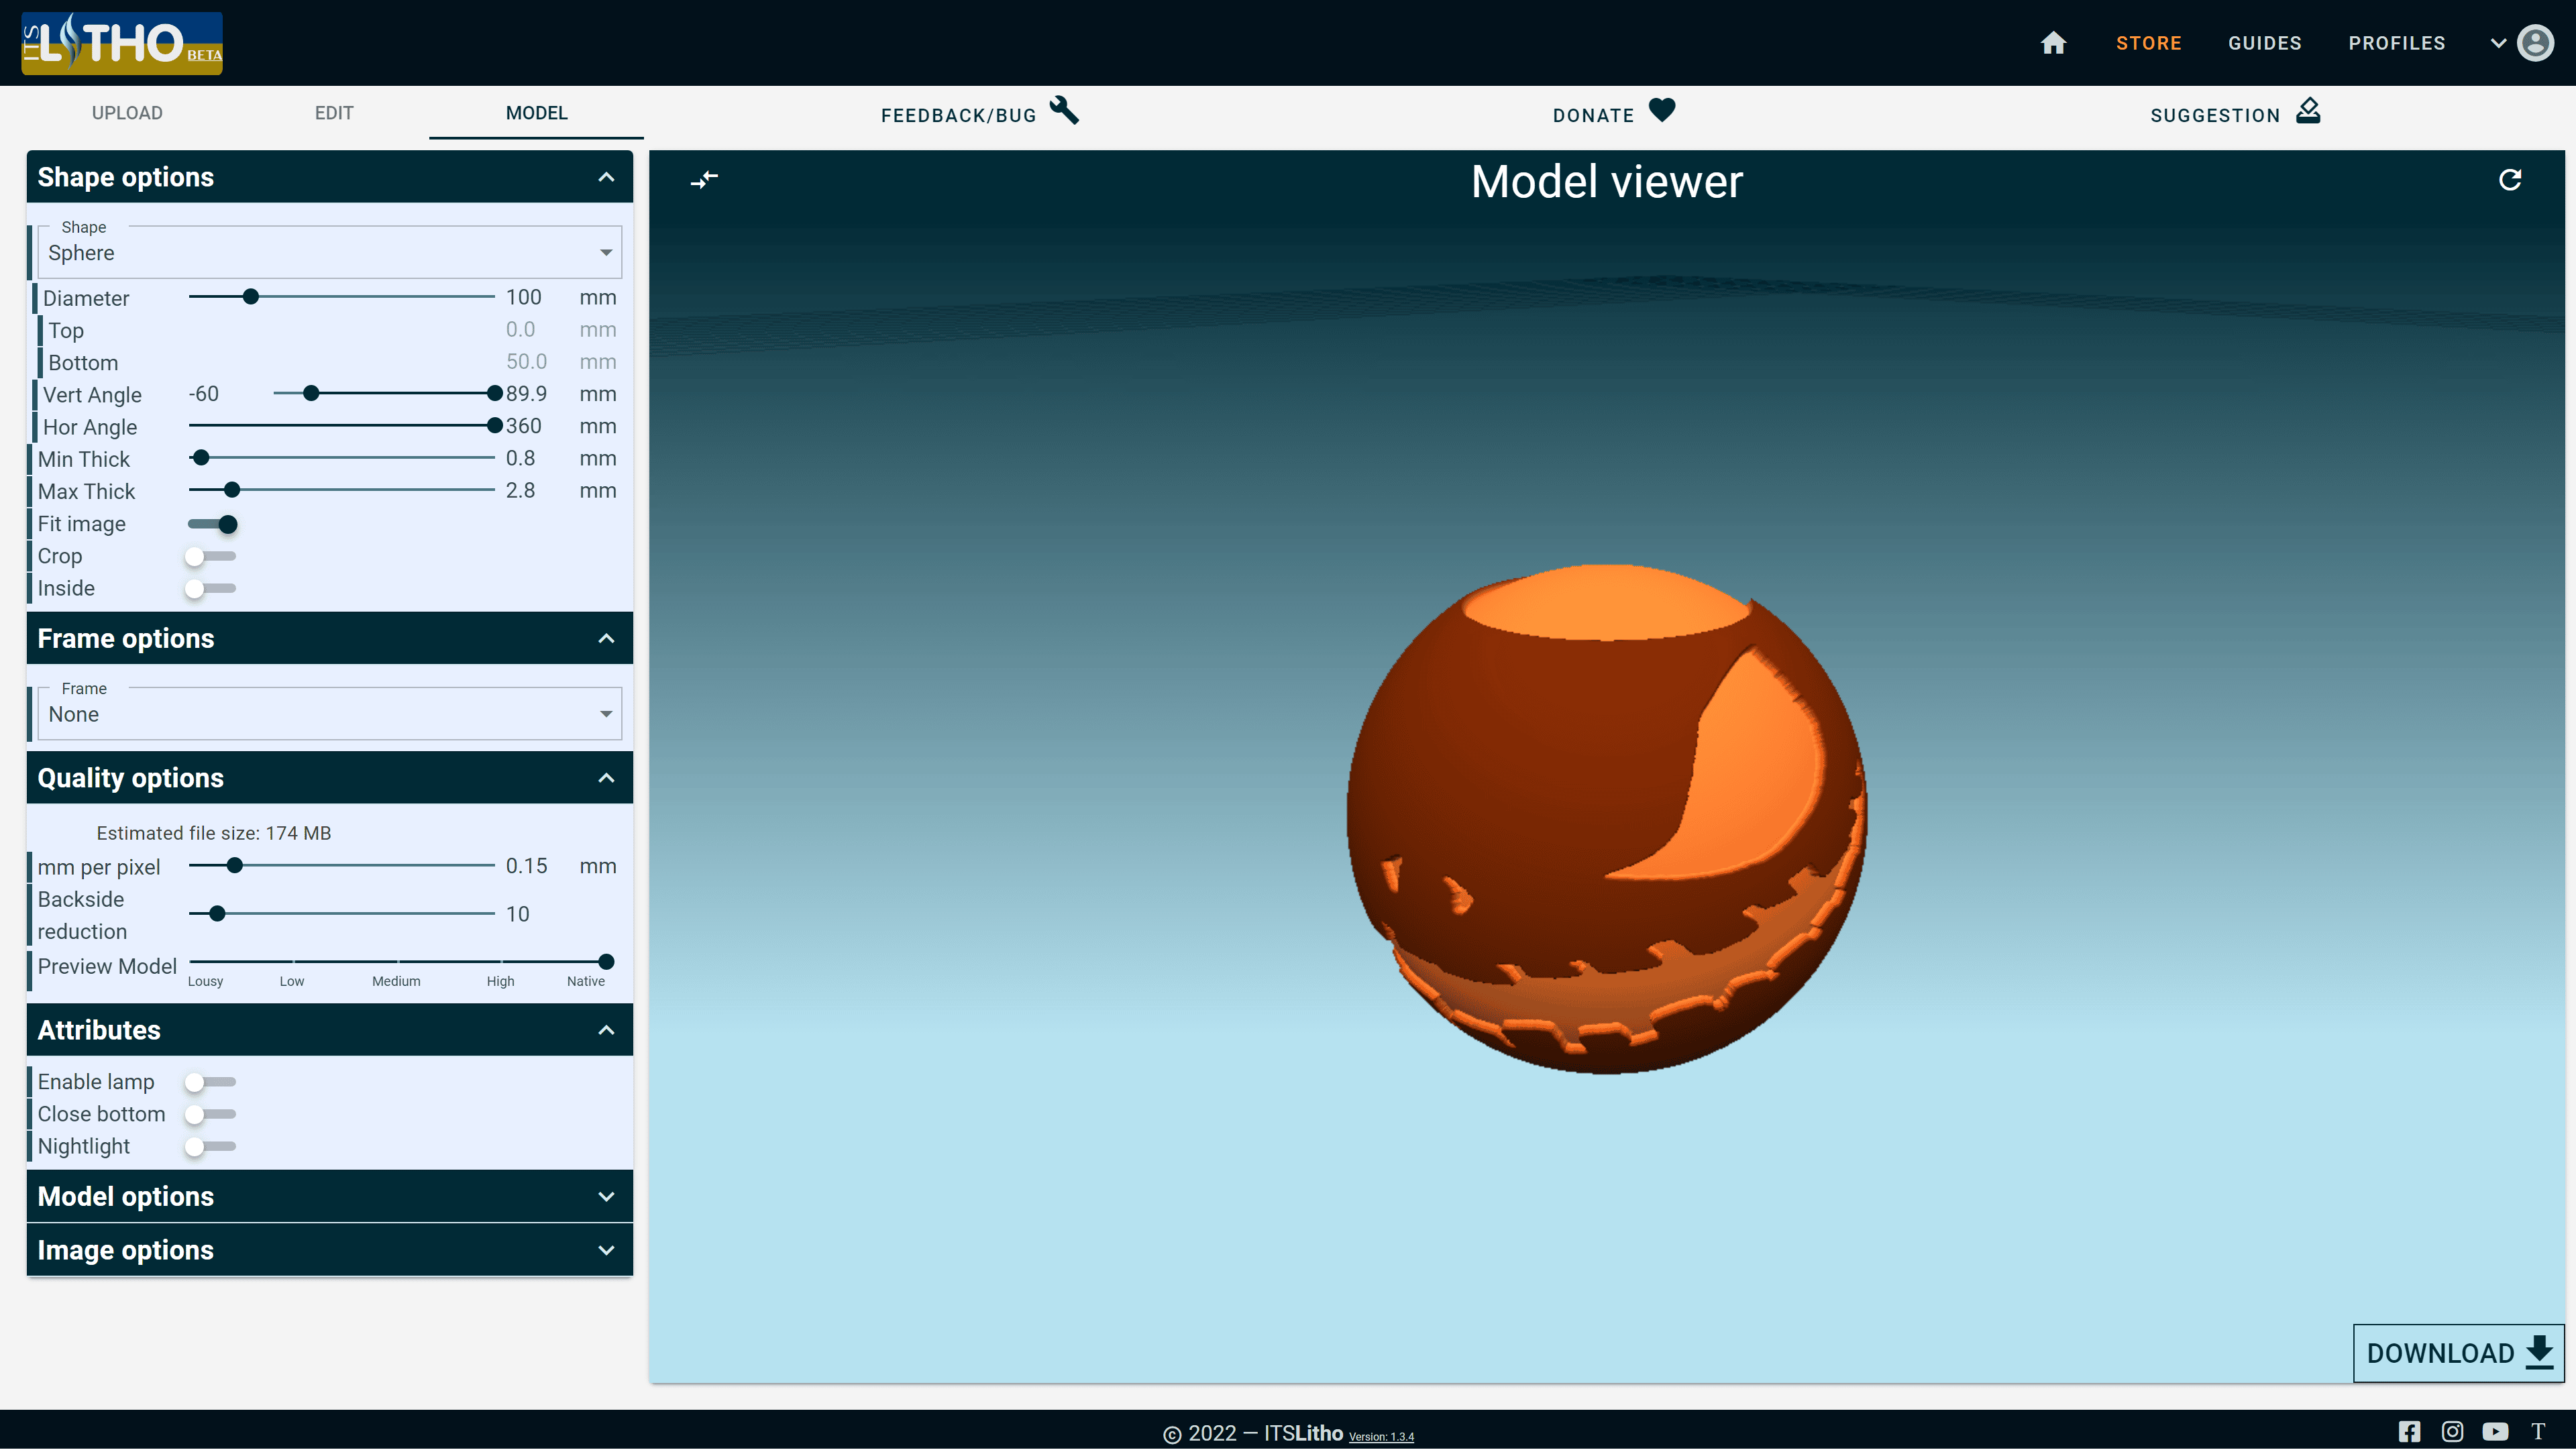
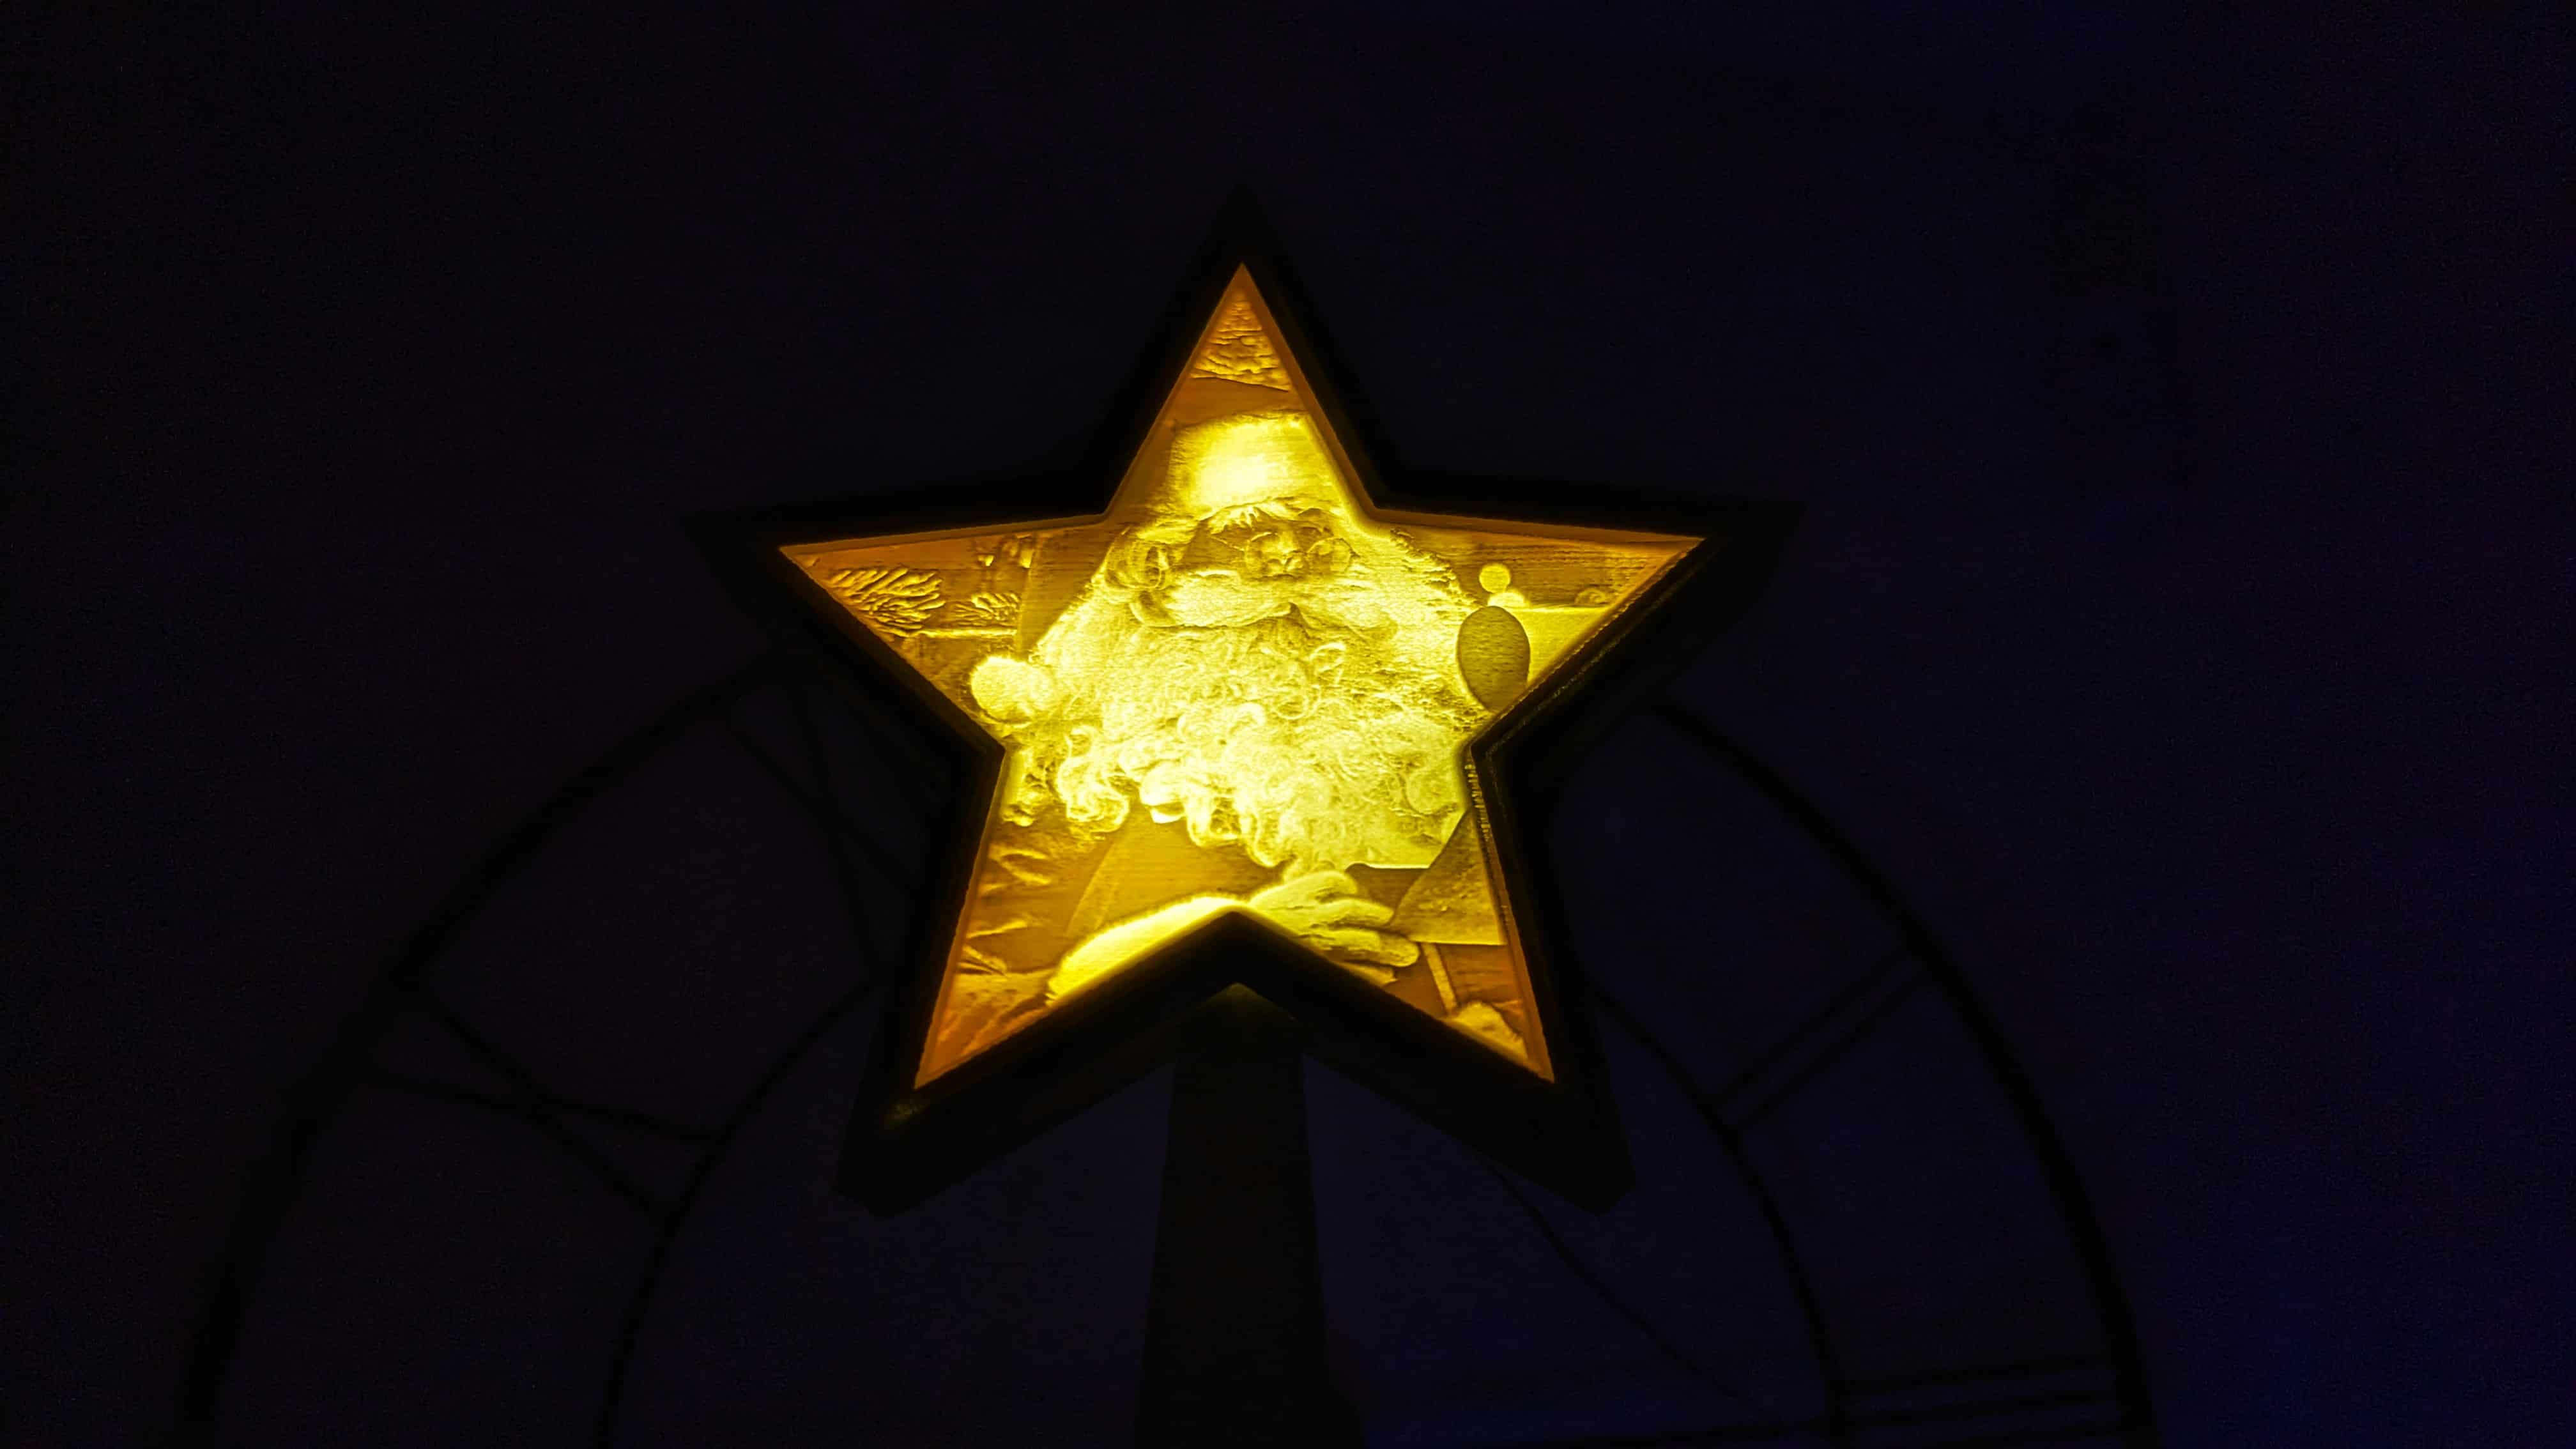
Inside
The inside option is available for the pumpkin lithophane. This way you can surprise everyone with a normal-looking pumpkin. But once you turn on the light, an (scary) image will appear!
Known bugs:
Multiple images do not work if the texture option is turned off;
Attributes do not work well (it might sometimes) with the pumpkin lithophane;
Grooves increase by the number of images uploaded
Images are stretched over the entire pumpkin, in the future, we will add an automatic position function to retain the image aspect ratio!
2
3D Printed Halloween Pumpkin Lithophane
Download & Print your Halloween Lithophane
After downloading your lithophane we need to slice the lithophane.
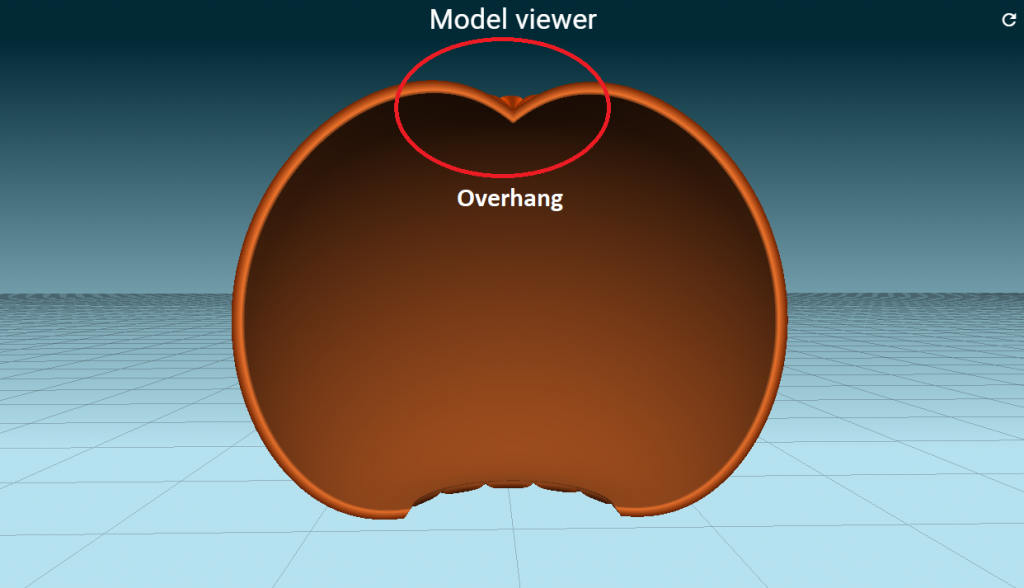
The 3D printed pumpkin lithophane requires some extra attention. There are most likely large overhangs on the top and bottom of the pumpkin.
The top of the pumpkin will most likely be suspended from the ground and not connected to the other parts of the pumpkin as shown in the image below.
It is important to give this some thought. We suggest you use supports to be able to print the pumpkin lithophane. The best way would be to manually add supports for the top and bottom of the lithophane.
But a quick and easy way is to turn on the supports in your slicer. Increase the support overhang angle threshold to a high angle, such as 70 degrees. This will make sure that only the absolutely necessary parts will get support and often will avoid putting supports on the lithophane itself.
Make sure to check the diameters of your print and the light source you want to use & make sure that it will fit your 3D printed pumpkin.
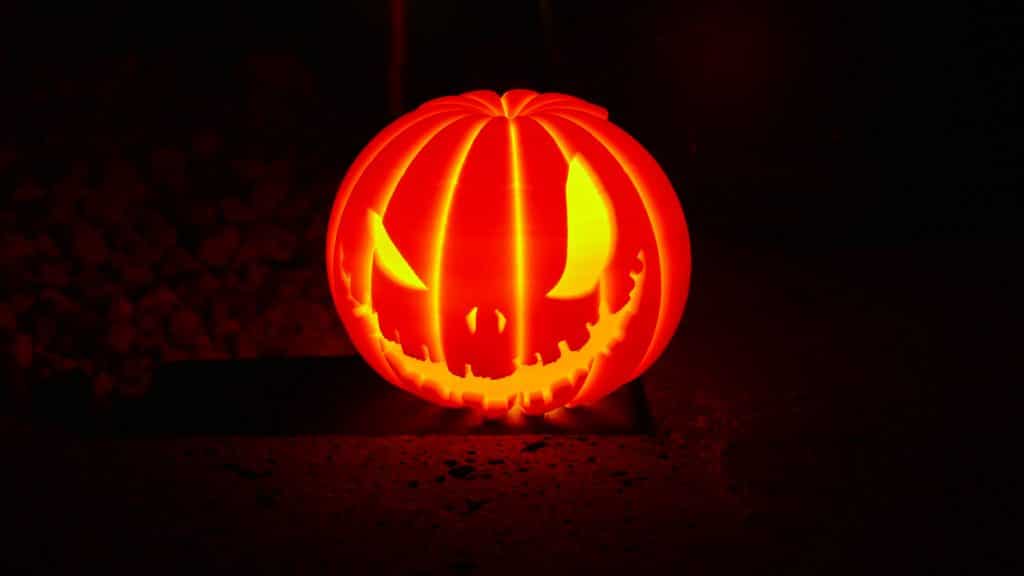
Be careful while removing the supports, to keep the 3D model as clean as possible that’s it! You are ready to showcase your freshly 3D printed Halloween model!
Enjoy!
If you are interested in more Halloween prints you could take a look at the latest pumpkin lantern lithophane!