Home » Guides » Turn an Image into a Cool 3D Model – (No Lithophane)
Looking for an original way to convert your image into a cool 3D model? Then this fun 3D-printed image might just be for you!
Contents
Turn your image into a 3D model
Creating your own 3D Model from an image
Surely you know that one of the most popular 3D printing projects to do with your 3D printer are lithophanes. And if you are reading this post, maybe you have already printed some lithophanes! The results of these prints are magical.
But what if we told you, that you could combine the design of lithophane with a color-changing technique to create incredible 3D printed images?
In today’s post, we show you exactly how you can make your own – Super Easy – 3D printed Image and personalize it yourself.
Turn your image into a 3D model
Requirements
Luckily, there are more methods to achieve this 3D Print. Method 1 requires a dual-color printing technique. If you don’t have that, don’t worry, methods 2 & 3 will also help you to make these amazing 3D prints.
Method 2 requires you to insert a pause into your printing file, then switch the filament with the color you prefer.
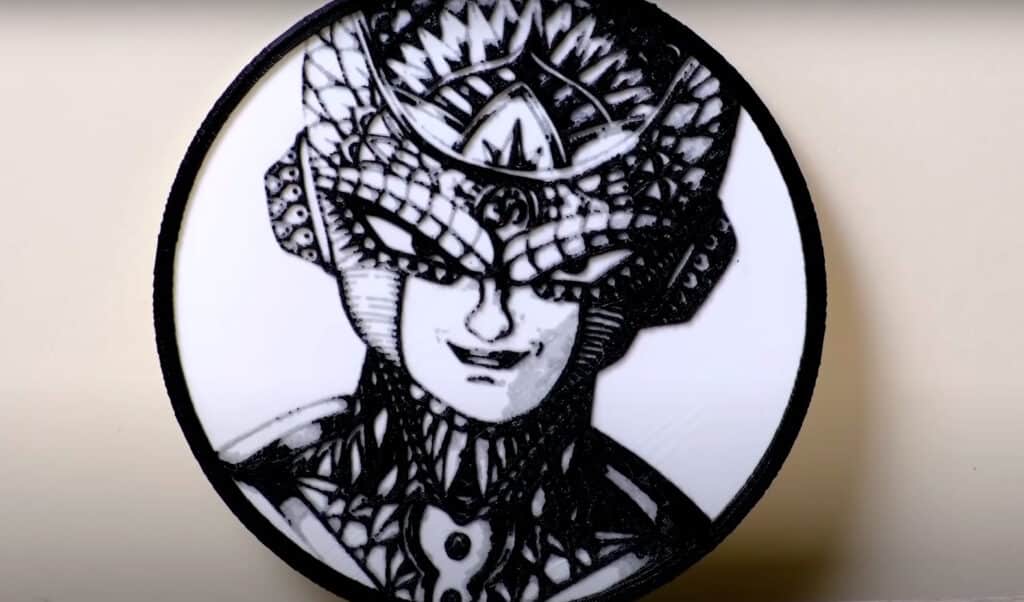
And the last method, method 3, requires you to paint the thicker parts (with a sponge or brush). Surprisingly, this gives it a really cool effect, and doesn’t look any lesser than the other methods!
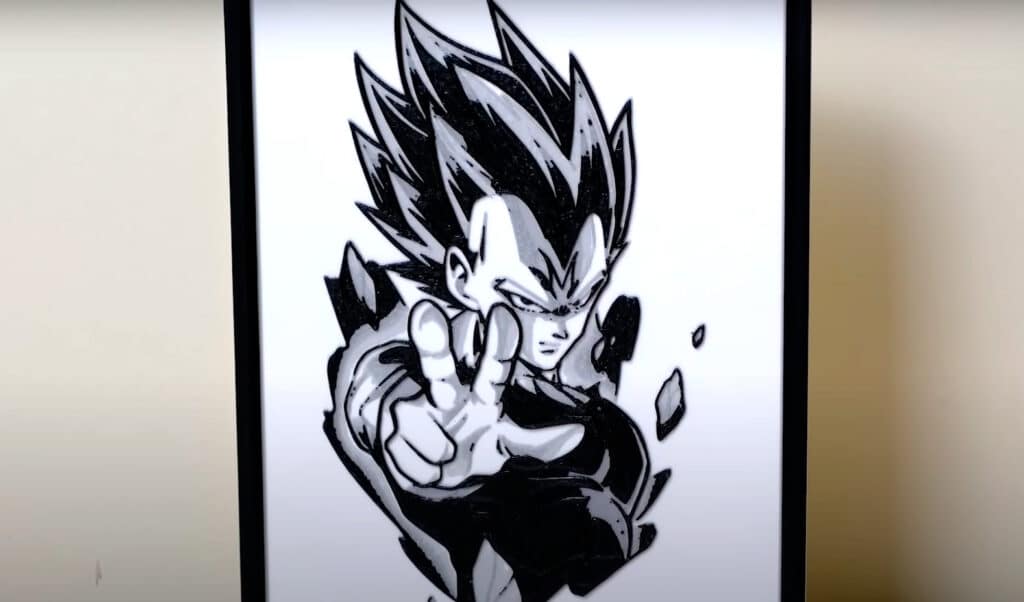
The first thing you need to do is find an image you would like to use. It can be any real photo, drawing, illustration, or personalized image. In our case, we have searched Google Images and Pinterest for some cool copyright-free illustrations to find ideas to print like below.
We wanted to do a black-and-white project, so we looked for an illustration that would fit this idea. Remember that you can use all the colors and materials you want!
Design your image
As you probably know, Itslitho is the 3D design software to help you design Lithophanes. If you are not familiar with the tool, here is a quick Youtube guide that helps in the right direction.
However, today we are not going to use ItsLitho to make lithophanes. But we are going to use ItsLitho to make Multicolor 3D printed images!
When you access Itslitho, you will find the following settings:
Upload Tab
Here we can upload the image, illustration, or photo that you want to 3D print.
Edit Tab
Once the image is loaded, you can make some adjustments without using external photo editing software. You could adjust parameters such as brightness or contrast to enhance the grey scaling better!
We recommend defining your image as well as possible. This will help to 3D print your image as clear & confident. So you want a high contrast (The difference between white & black parts).
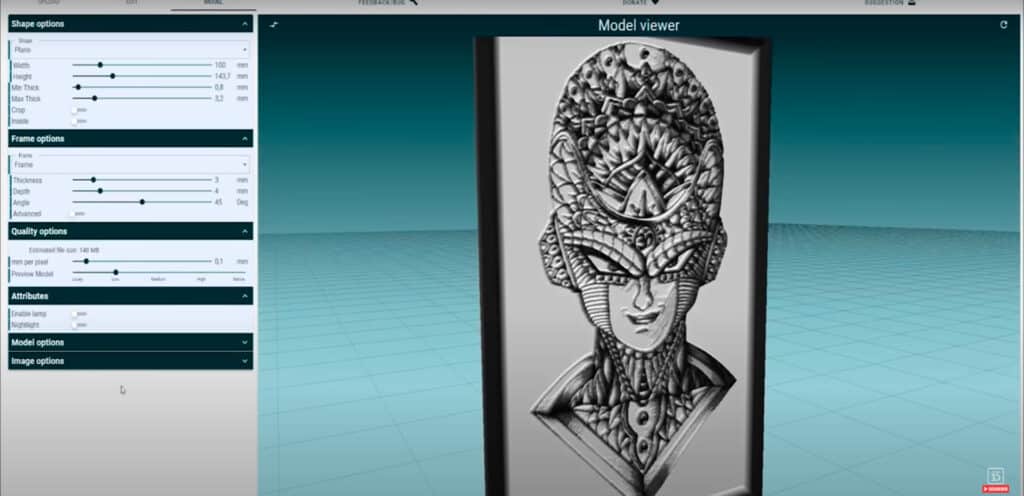
Model Tab
This function is used to perform a ‘mapping’ of our image, generating a kind of ‘topography’ or relief by detecting the different grey levels of the photograph that we have uploaded.
This is the part where Itslitho generates your 3D model image, that we can tweak with various functions: for example in ‘Shape options’ we can modify the shape and dimensions of our frame or the base volume on which our photograph will be generated, as you can see in this image:
More settings that we recommend:
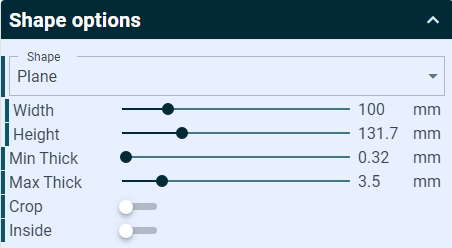
Shape options
With the minimum/maximum thickness option (Min thick/Max thick), you can decide how thick the black & white need to be.
We have set the minimum to 0.32 & maximum of 3.5 millimeters. Remember that the more difference between the minimum & maximum thickness, the more margin you have to make the different gradients or colors of the image.
However, it could differ what works best for you, so playing with different thicknesses could improve your final 3D print.
Frame options
To add some flair to your 3D model image, you could add a frame in the outline of your illustration. This can also be adjusted in thickness & width.
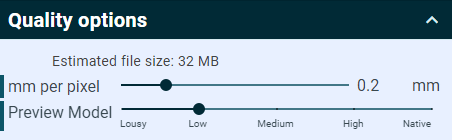
Quality options
With these options, you can modify the mesh density (mm per pixel). The lower the mm per pixel, the more precision of the 3D model image.
However, be careful with this option, because it will grow your file size significantly. Take this factor depending on the characteristics that your computer and your slicer can support.
The default value is already high & precise. We highly recommend increasing the number when your file size gets too big. Most of the time, you can’t even see the difference between 0.1 & 0.2 with your bare eyes.
So to make your life easier, and from the slicer, we recommend keeping sight of the file size of your 3D model.
Preview
This will help you to display your final mesh from different perspectives.
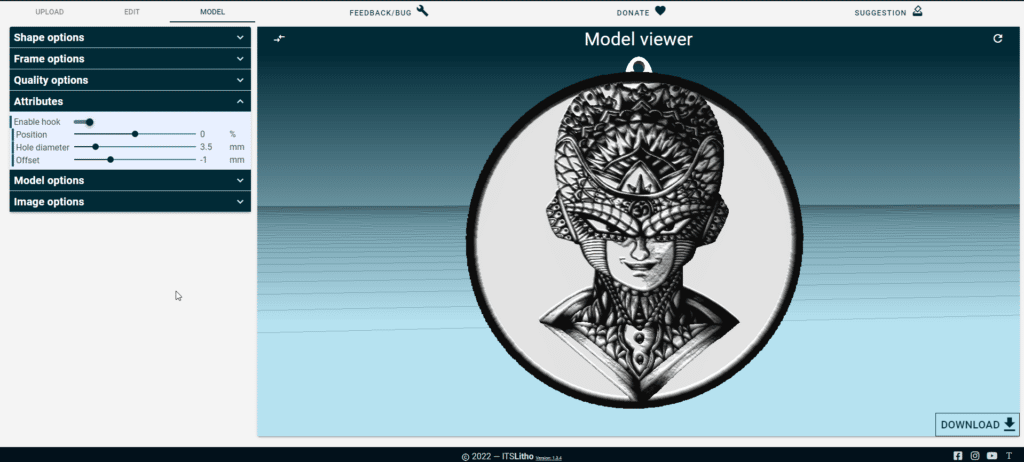
Attributes
Want to display your 3D model image better? No problem, with the attributes ItsLitho offers a variety of different ways to display your 3D print. For example, you could add a small hook, so you could easily hang the illustration on the wall by activating the ‘enable hook’ option.
Image options
These options can be very handy when the image is not displayed exactly as you were hoping for. For example, if you use the circle shape, the image is displayed higher on the model. With these options, you can correct your image on the 3D model exactly how you want.
Finally, when the image is fully adjusted, click on ‘download’ (if you have added attributes, select ‘Download lithophane + attribute’).
Download your Image STL
When you are happy with the preview, click the download button. You will get a pop-up with different options:
Lithophane button
This will download your 3D model image only. If you have used attributes we suggest the click on “Lithophane + Attribute”.
Attribute button
We can imagine it could be handy to download the attribute separately or only the attribute in some scenarios.
Lithophane + attribute button
If you just want to download the whole 3D model design you have created, press this button.
2
Turn your image into a 3D model
Slice & Printing Proces
Now we have our 3D model image STL file, we need to slice it!
For method 1 you will need to have a multiple-color 3D printing technique to 3D print these images. So make sure you have this technique on your 3D printer. If you don’t know how to do this, have a look at how to 3D print multiple colors with your 3D printer.
As said before, for method 2 you want to insert a pause to your 3D printing file after a couple of layers. Then, switch the filament to another color & continue the print.
For Method 3 you don’t need to do anything special other than 3D printing the whole file in 1 color.
Slice & dice
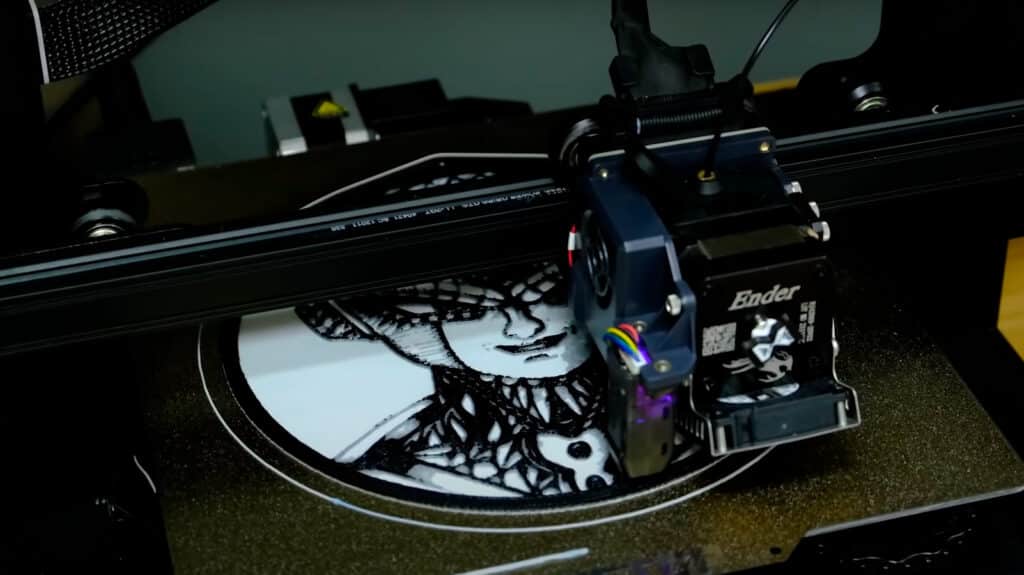
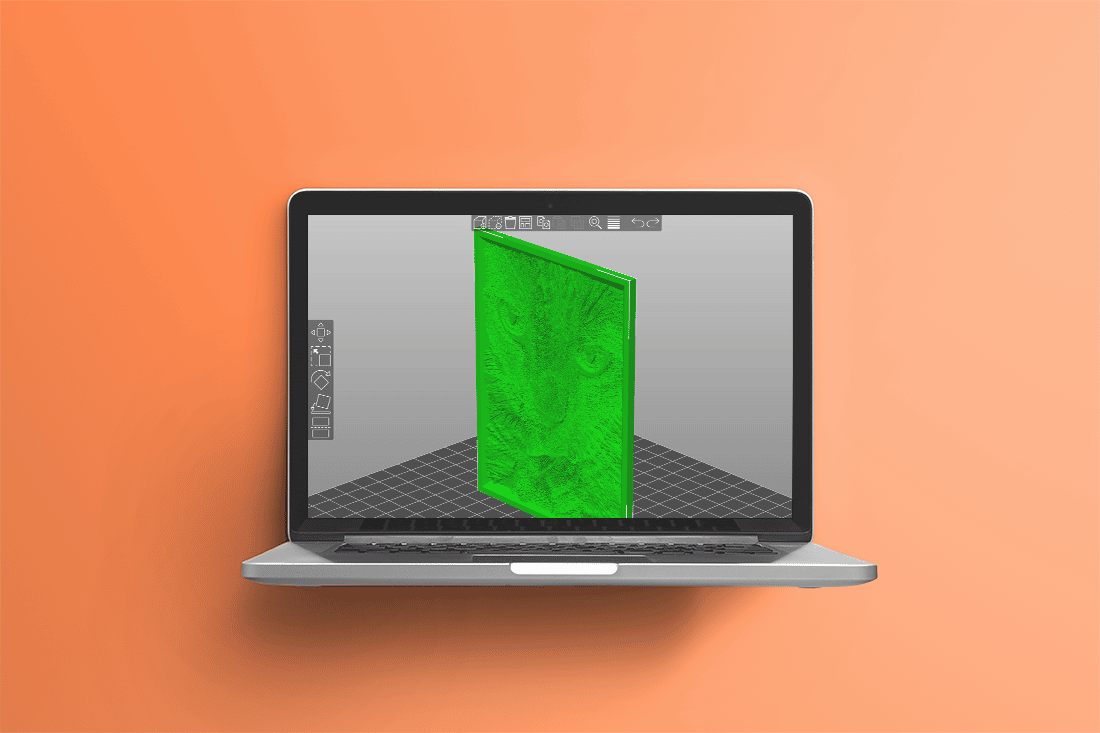
At this point, it’s important that we place the image horizontally on the 3D printer bed (Unlike a Lithophane). We also need to think about what layer height we gonna change the color(s) in the 3D print. (method 1 & 2)
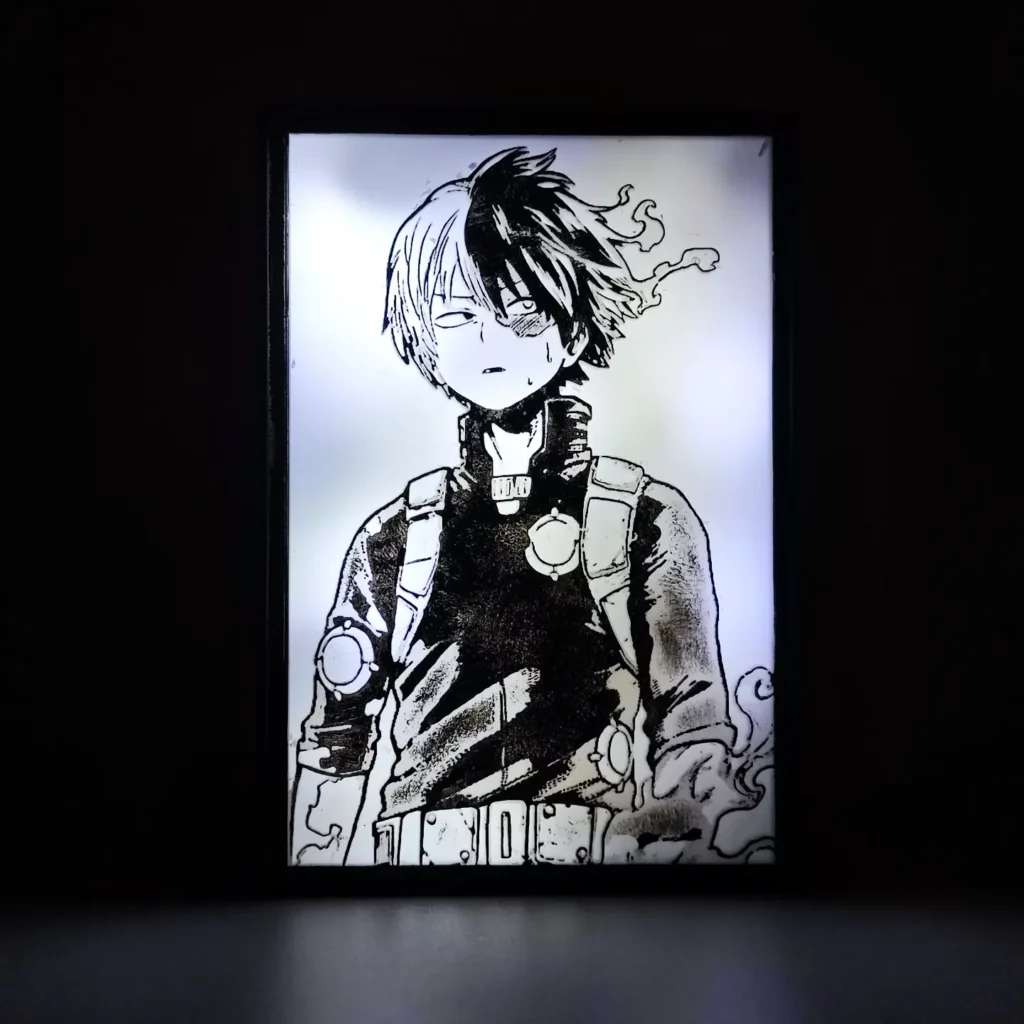
In our case, we used method 1, and we used three different colors: white, gray & black PLA. Remember that you can use all the colors you want to 3D print your image!
For this project, we have used the PrusaSlicer slicing software because I (Control 3D) find it simpler, more visual, and more direct than Ultimaker Cura. But you can use any 3D printing slicing software.
We have used these 3D printing settings:
Nozzle width: 0.4 mm
Line width: 0.44
If you want to 3D print an image with more detail, we advise you to use layer height 0.3 to get a better definition.
3
Turn your image into a 3D model
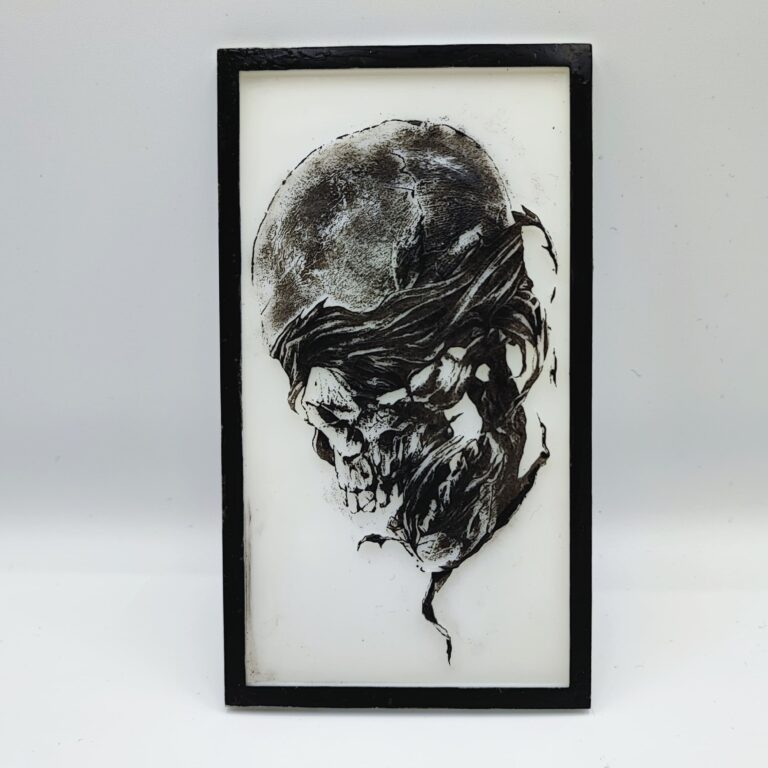
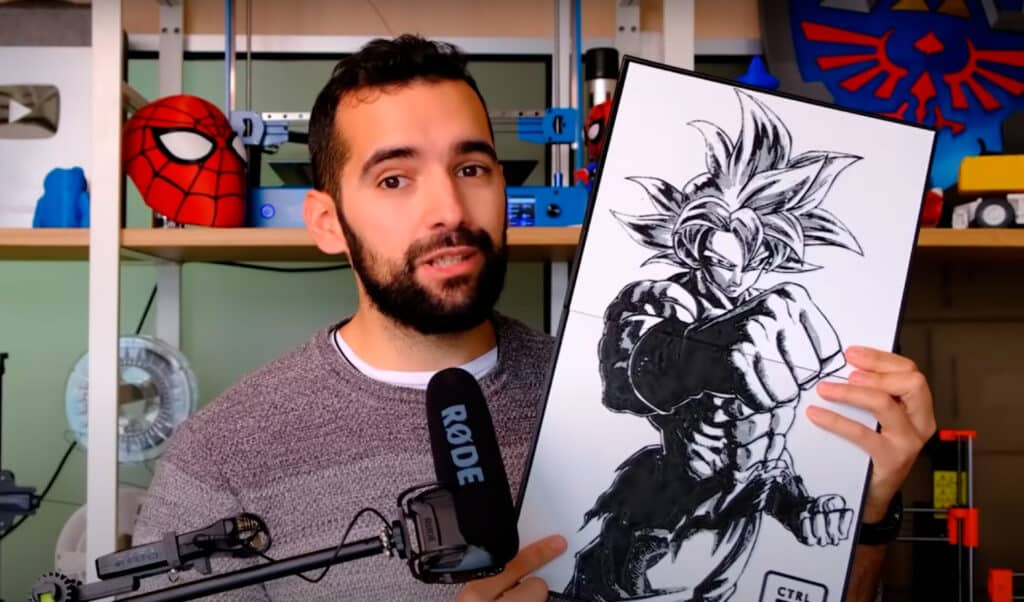
Final results
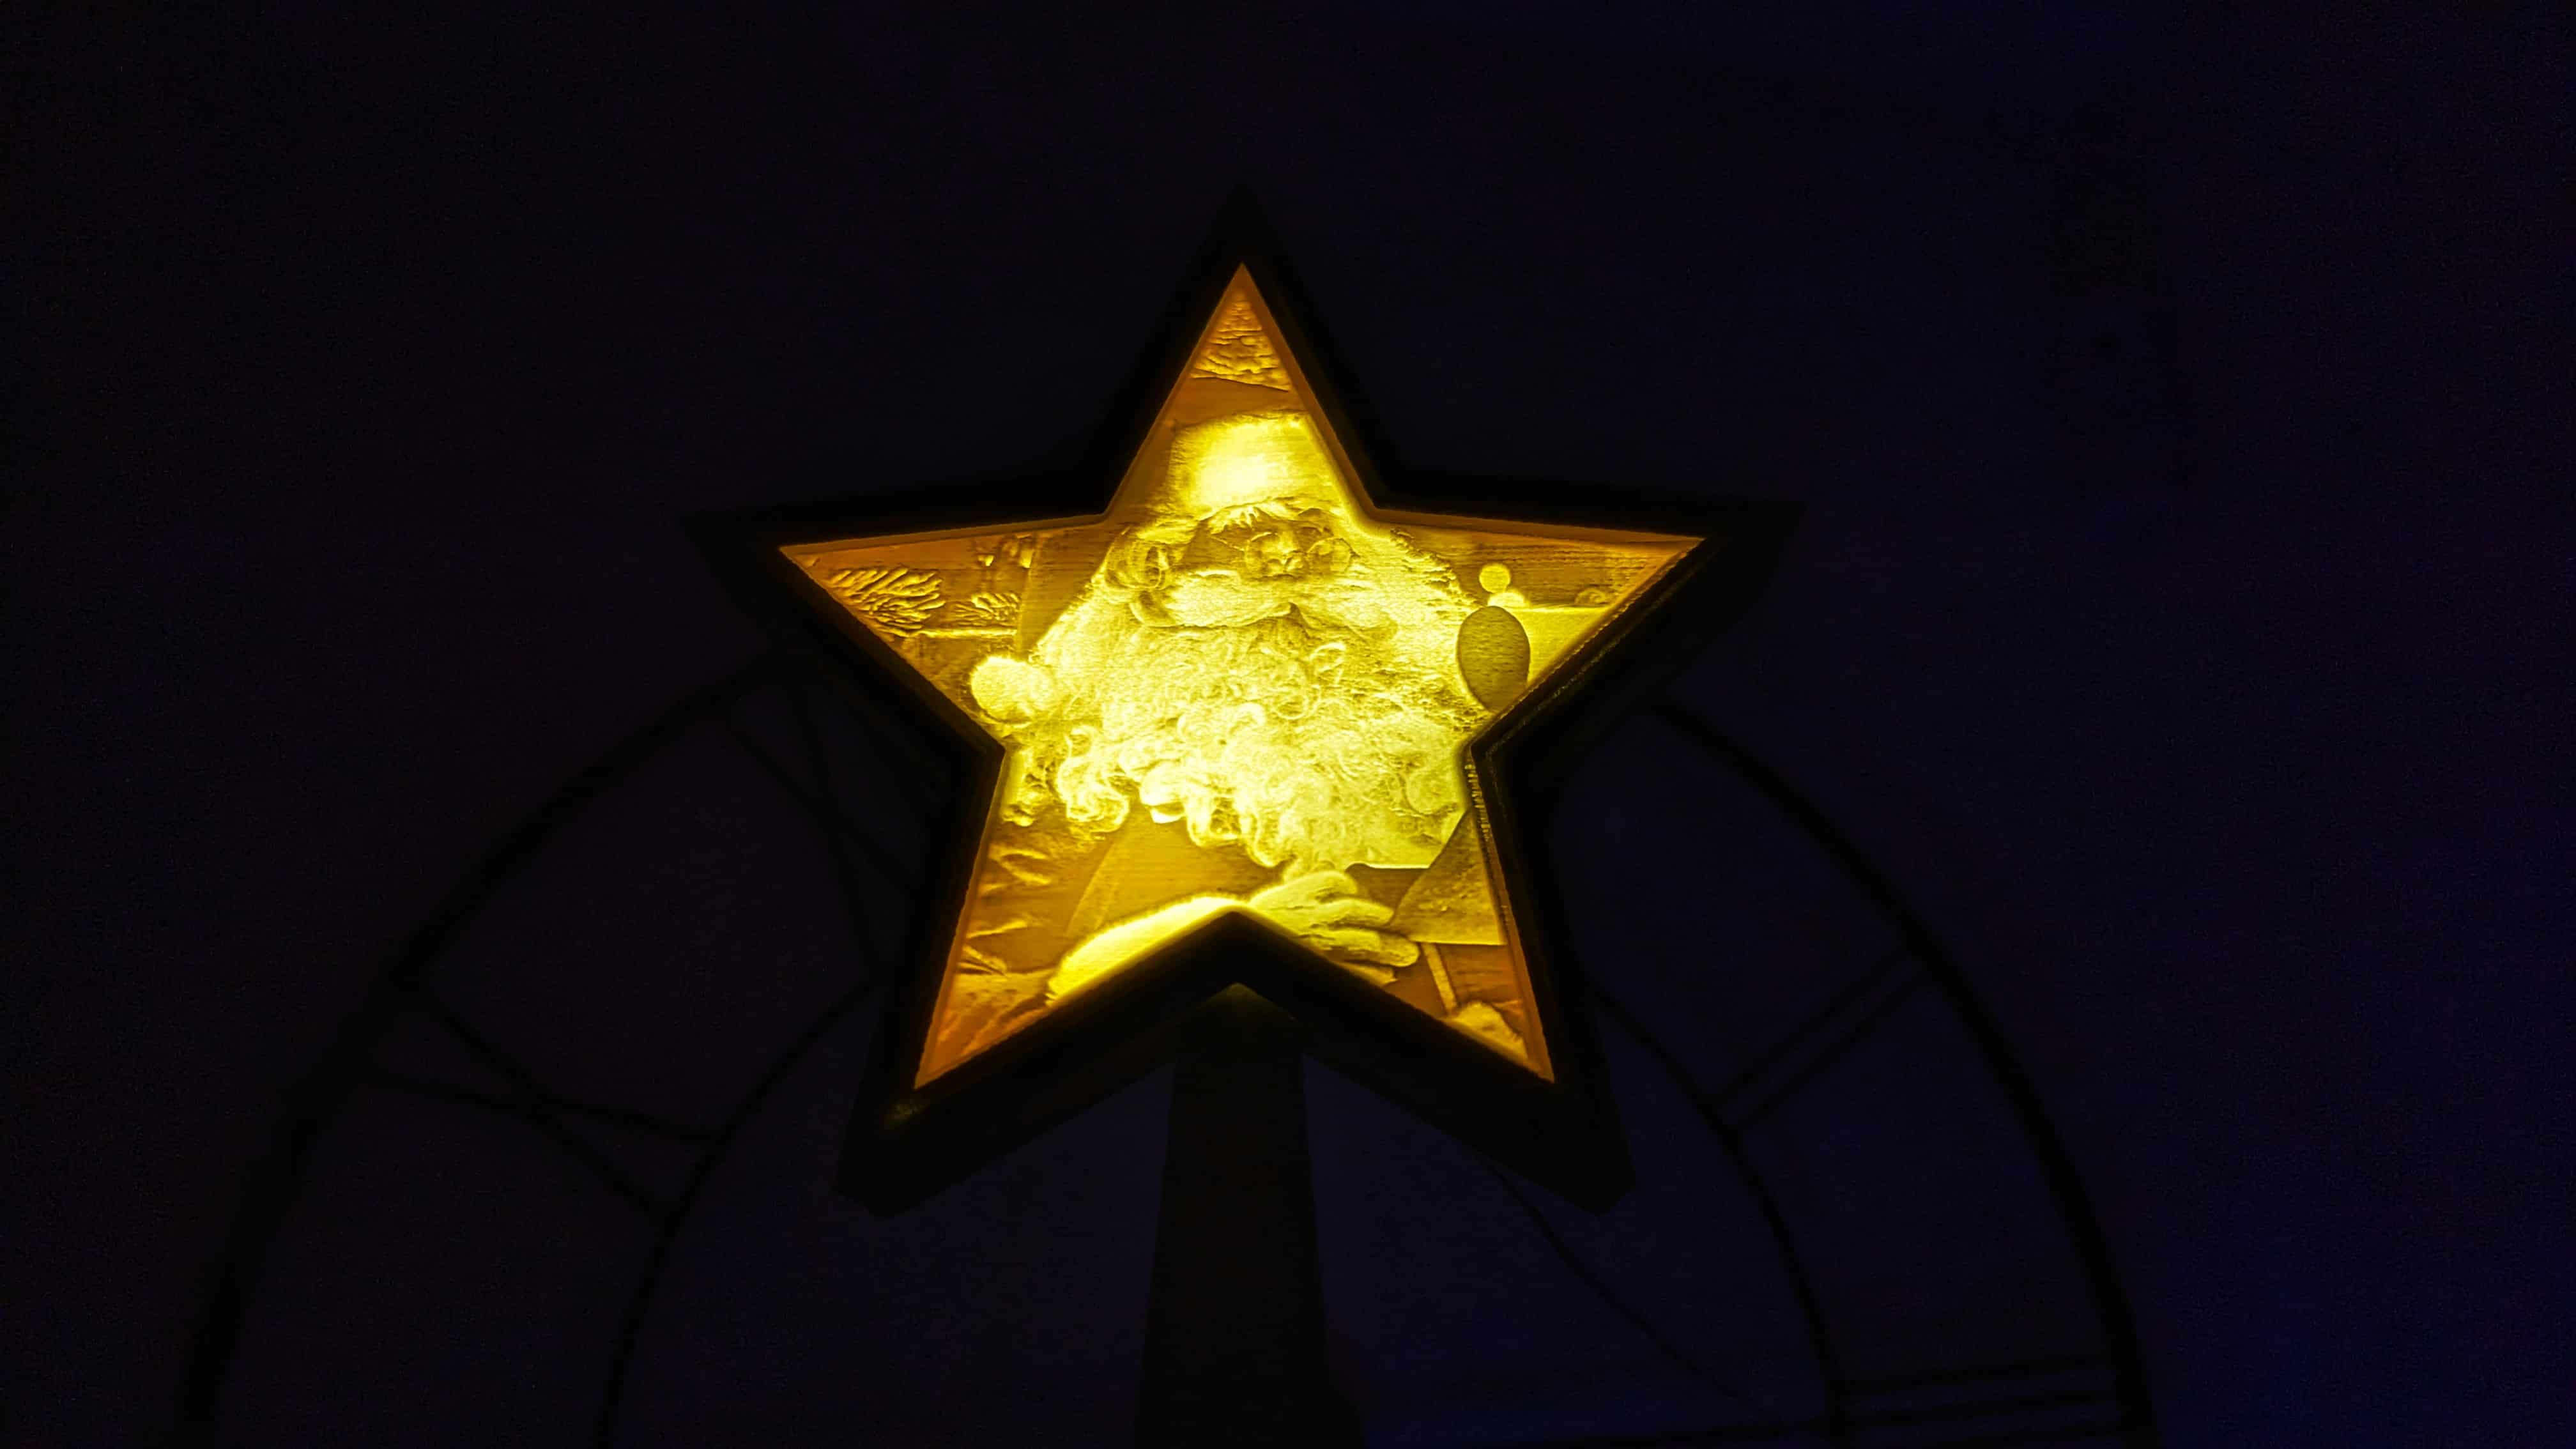
The most interesting about this project is that you can 3D print completely personalized images and photographs, and also customize the size, color, and shape.
Youtube Channel of Control 3D
You can also 3D print large photos by dividing your 3D model into several pieces so it fits on your 3D printer bed. Later on, you can join them together with glue for example.
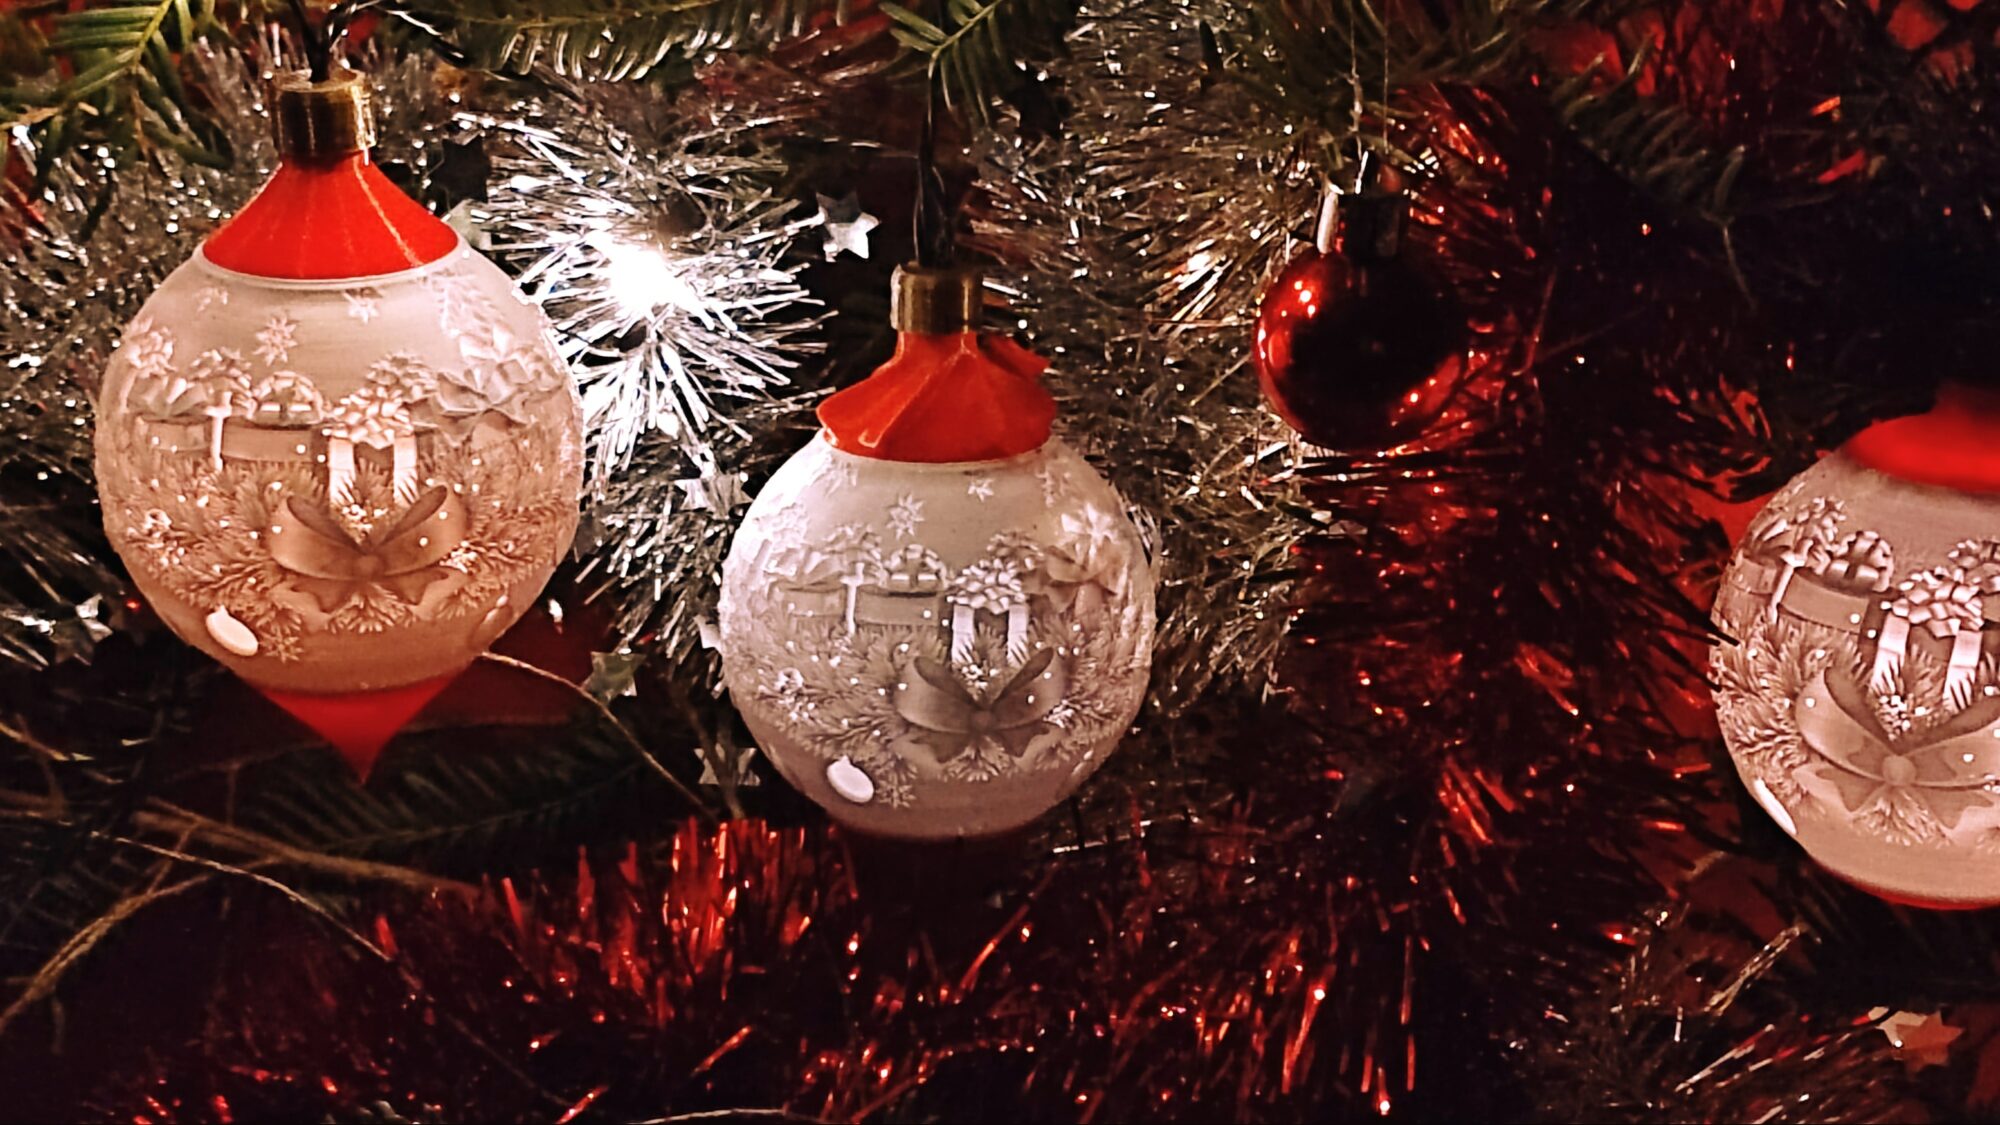
These 3D images are perfect for decorating any space, wall, or surface. You can also use them as 3D printed gift ideas, invitations, posters, signs, and even business cards! A very creative and easy idea to print with your 3D printer!
Method 1
So, if you are looking for easy and cool objects to 3D print with your 3D printer, try printing 3D images: People will be amazed by your designs!