Christmas Decoration: 3D Print Your Personalized Christmas Bell (2023 Update)
By ItsLitho
Last Updated: November 2, 2023
Home » Guides » Christmas Decoration: 3D Print Your Personalized Christmas Bell (2023 Update)
These 3D printed Christmas bells are one of our favorite prints to make during the Christmas season! In this guide, we will help you step-by-step on how to make your own personalized 3D printed Christmas bell.
Contents
3D Printed Christmas Bell Lithophane
Create your own 3D Printed Christmas bell Lithophane
If you are in the possession of a 3D printer – You are a lucky person – Because this 3D model is just waiting for you to be printed.
This festive 3D printed lithophane is not only fun to make, but you can also personalize it in a couple of minutes. So it’s totally worth the little effort it takes to make!
For us, they surely make a nice contribution to our 3D Printed Christmas decoration collection. They are truely magical.
So how to make these 3D printed Christmas bells? Let’s jump in!
Made by Luke Lewis
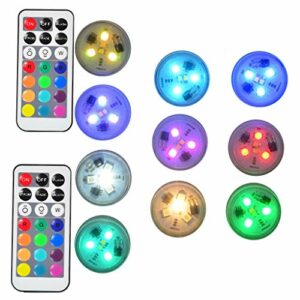
Light sources for your Christmas bell lithophane
Before we start designing, it’s important to think about what light source you want to use to enlighten & display your Christmas bell.
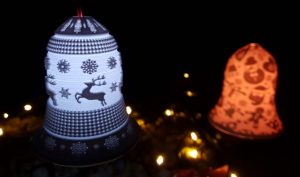
For example, the bell can be placed on a table with a light source inside it. This could be like a candle-led light or fairy light.
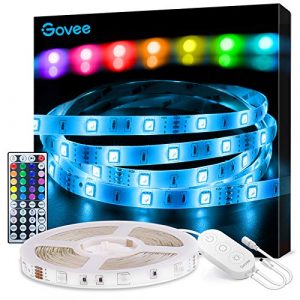
Another option could be to hang up the bell. We made a hook attribute that can be downloaded at Thingiverse. The hook is specially made for the size of this profile. But you can downsize the hook the make it fit every size bell! You could wrap a led light strip around the base as we did with our Christmas bells.
When using the hook attribute from Thingiverse you could wrap a LED strip around the base.
And last but not least, you could use lantern lights. It requires measuring the light & inserting the diameter in revolve shape of ItsLitho.
So now you got some ideas on how to light up your bell, let’s start with designing!
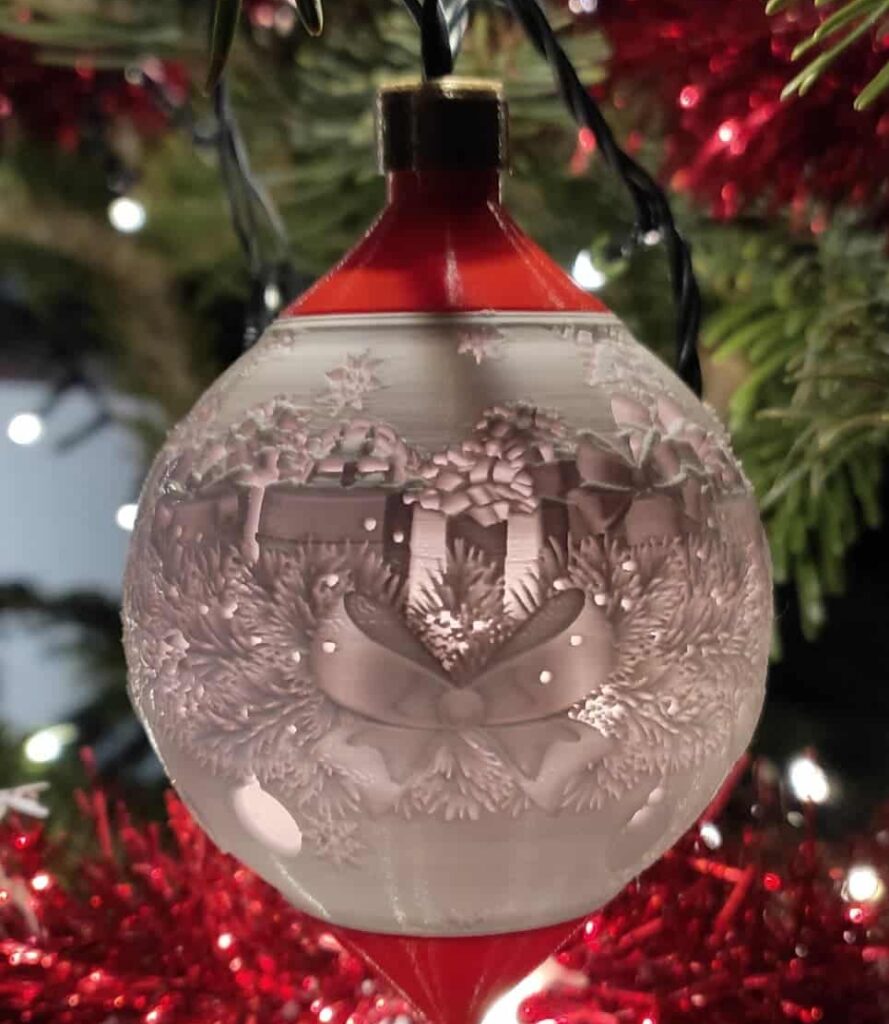
After many requests for a Christmas ball 3D print, we also looked for a way to create a similar attribute for the bell lithophane.
This design is made to fit the lantern lights perfectly. The attributes are made for this lithophane profile. You can find the attributes here. For the image of this bell lithophane, we recommend a 1.65:1 ratio.
$19.96Original price was: $19.96.$17.30Current price is: $17.30.
1
3D Printed Christmas bell Lithophane
Personalize Your Lithophane
To make the Christmas bell Lithophane we use ItsLitho Lithophane maker. Once we have the tool open we can start by uploading the image you would like to use for the Christmas bell!
Step 1 | Upload image
First head over to the upload image tab, in the upper left corner of your screen. In this tab, you can upload one or multiple images to your preference.
We suggest a horizontal image. A ratio around 1.5:1 / 1.8:1 works fine for us.
Once you’ve selected all the images you want to use, we can move on to the next tab.
Step 2 | Edit image
In the edit image tab you can, as the name suggests, edit your image(s). Although not strictly necessary, it can greatly enhance your lithophane.
Adjusting the brightness and contrast settings may significantly improve the results of your lithophane. Most often increasing the contrast slightly and increasing/decreasing the brightness to prevent oversaturation, will do the trick.
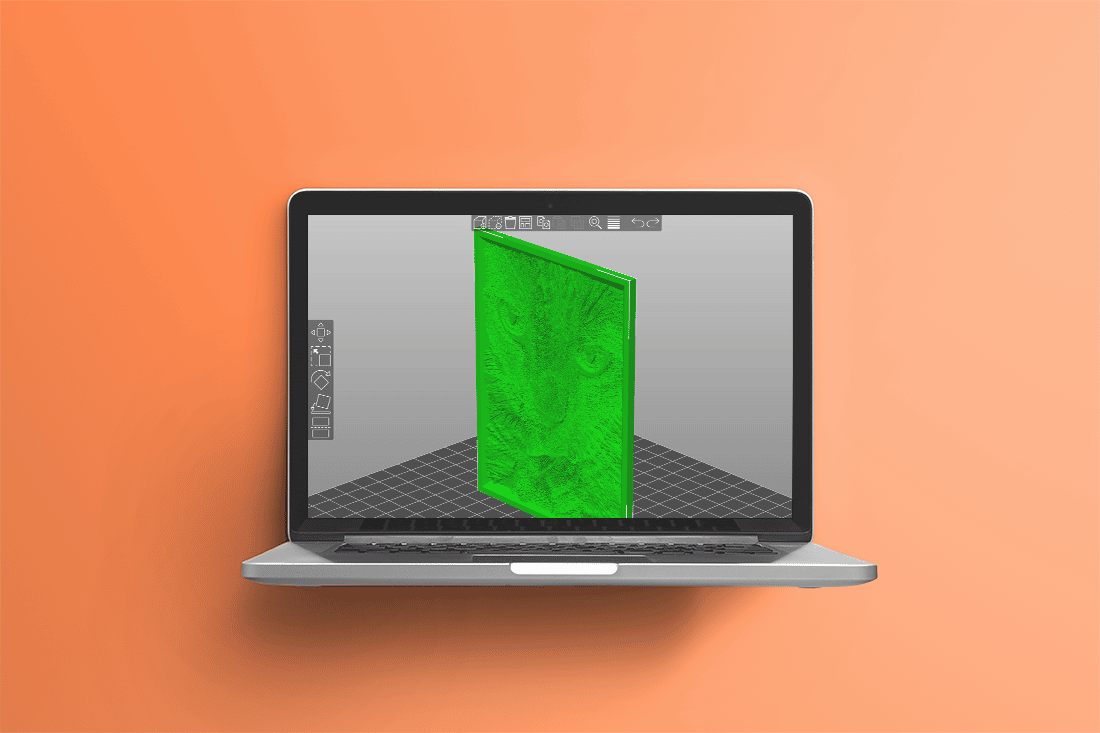
Step 3 | Model Lithophane
In the last step, we will make a lithophane with the used image(s). Head over to the model tab.
If the image doesn’t fit as desired, you can use the “crop” function to adjust the image to the desired parameters of the bell.
That’s all it takes!
Depending on the light & filament you might want to change the minimum- maximum thickness. Especially if you making smaller lithophanes, you might want to lower the maximum thickness.
Important to notice is that if you would like to change the parameters of the revolve shape. Always start with the height of the revolved shape. When you change the height, all diameters of the revolve shape will change with it.
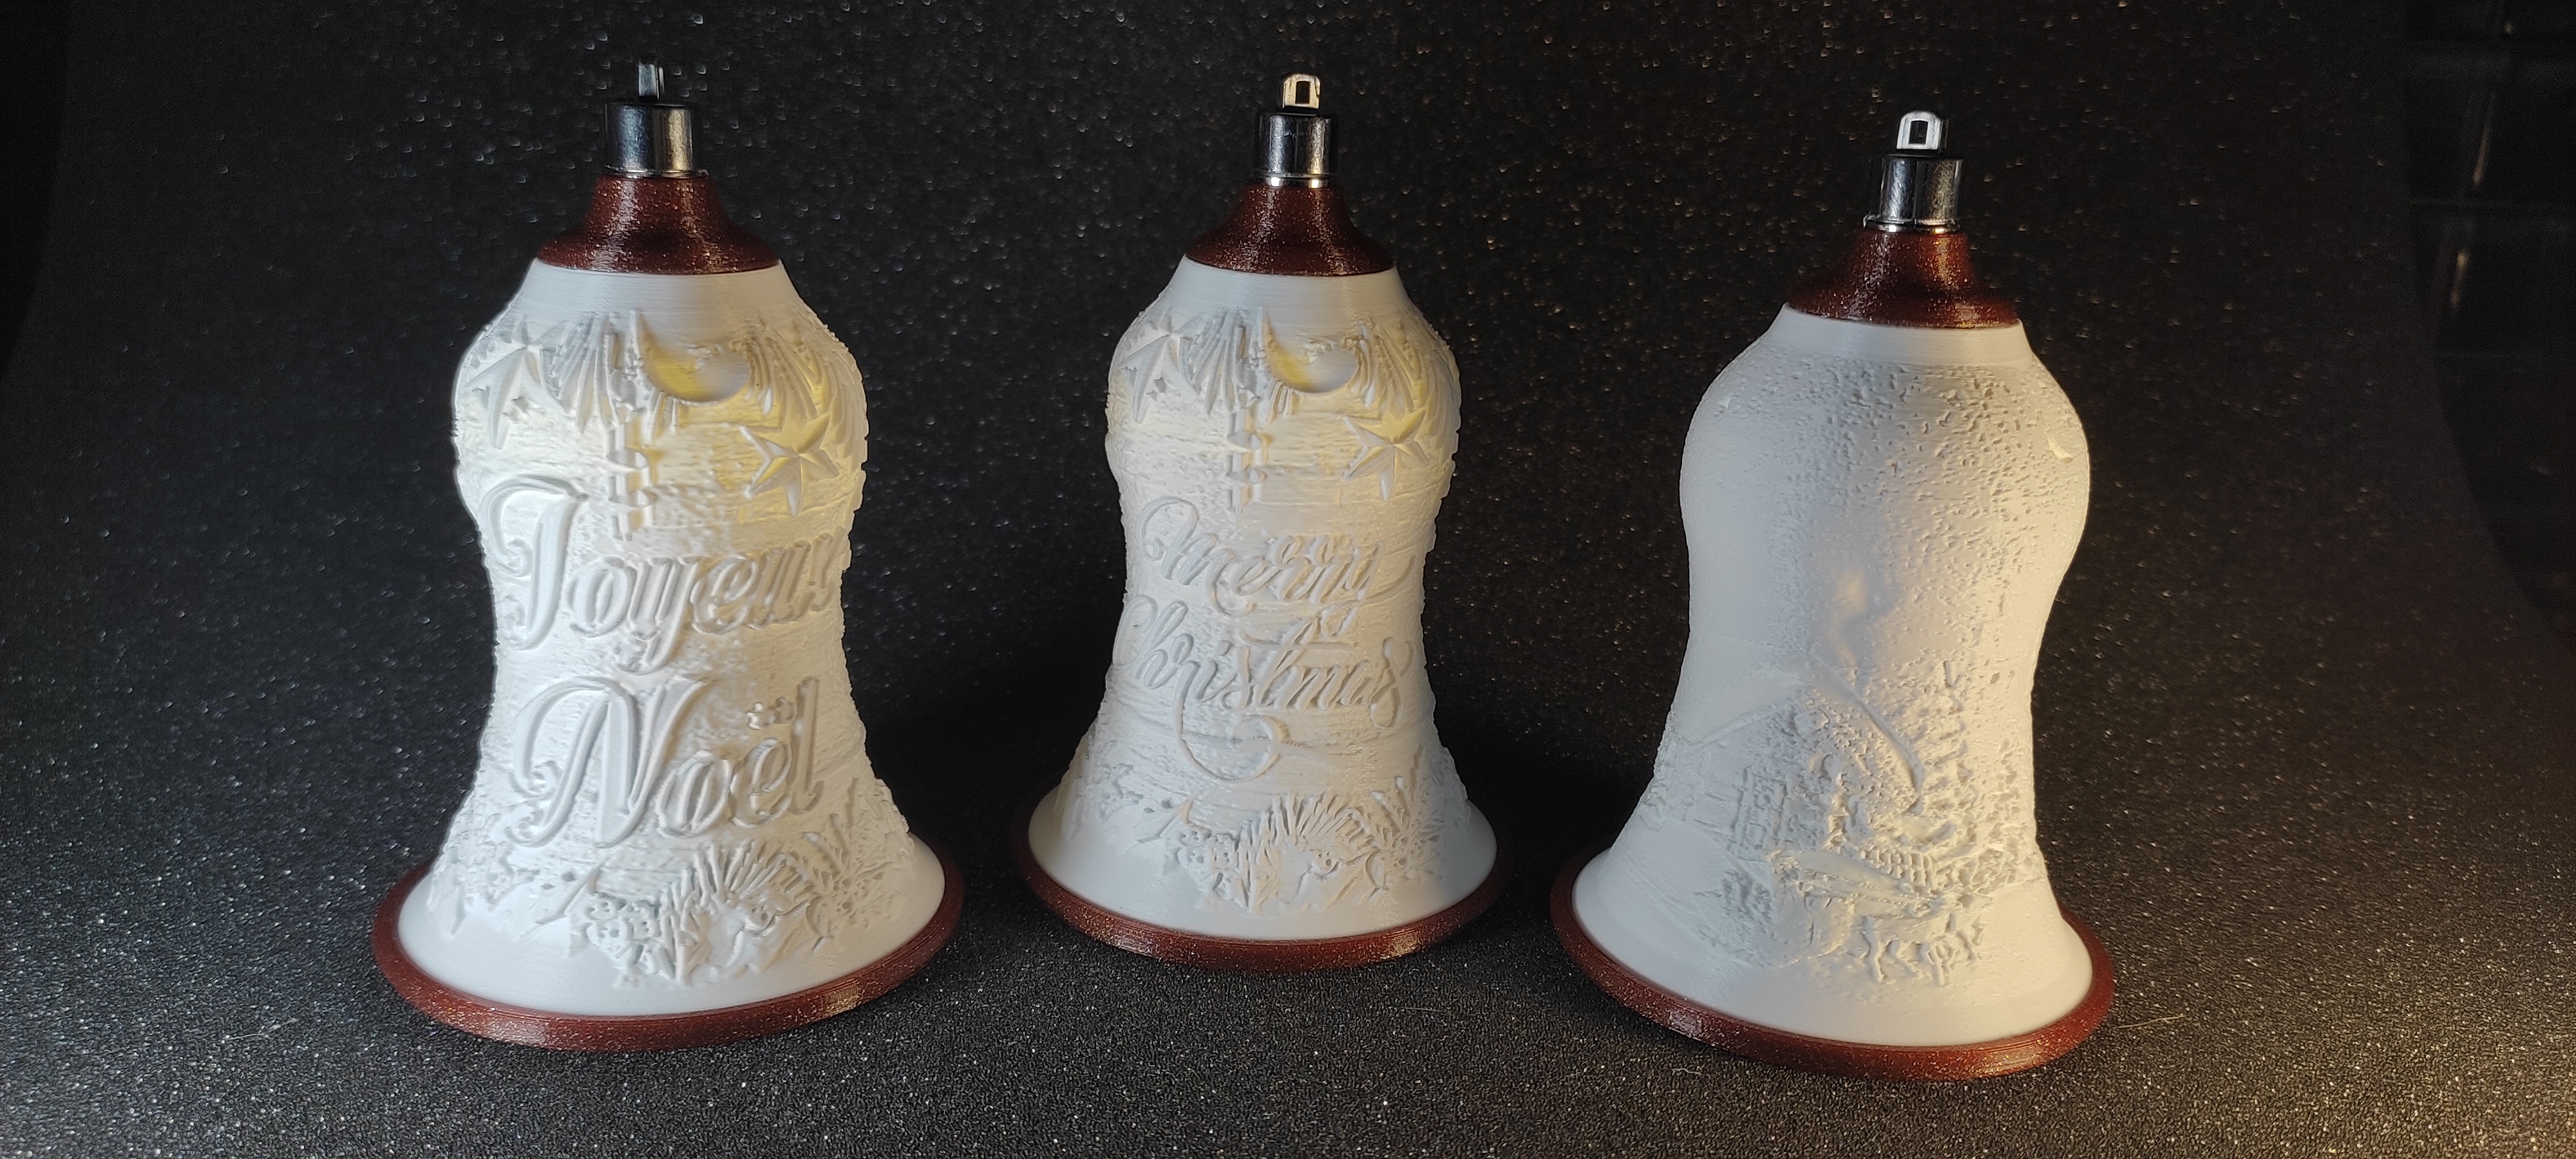
The Christmas bell shape is one of the many shapes possible with the revolved shape. As we select the “revolve shape”, a carousel appears. We have added a couple of preconfigured shapes to give some ideas about what could be made!
We personally have made a large and small bell lithophane to test this shape. By default, the bell is quite big (156 mm). This can easily be reduced by reducing the height slider. Like said, all diameters will automatically be adjusted to keep the shape.
The small bell lithophane was only 70 mm in height and looked really cute. And it was printed in just 7 hours!
2
3D Printed Christmas ball Lithophane
Download & Print your files
When you are happy with the preview, we can download the lithophane.
Luckily the Christmas bell lithophane is really easy to print, no supports are needed. If you kept the default diameter settings, then the overhang at the top of the bell is not too large.
For material tips, have a look in our store to see what kind of Filaments works well with lithophanes. We also show light sources that work well by displaying lithophanes.
Print your Christmas Bell
3
3D Printed Christmas bell Lithophane
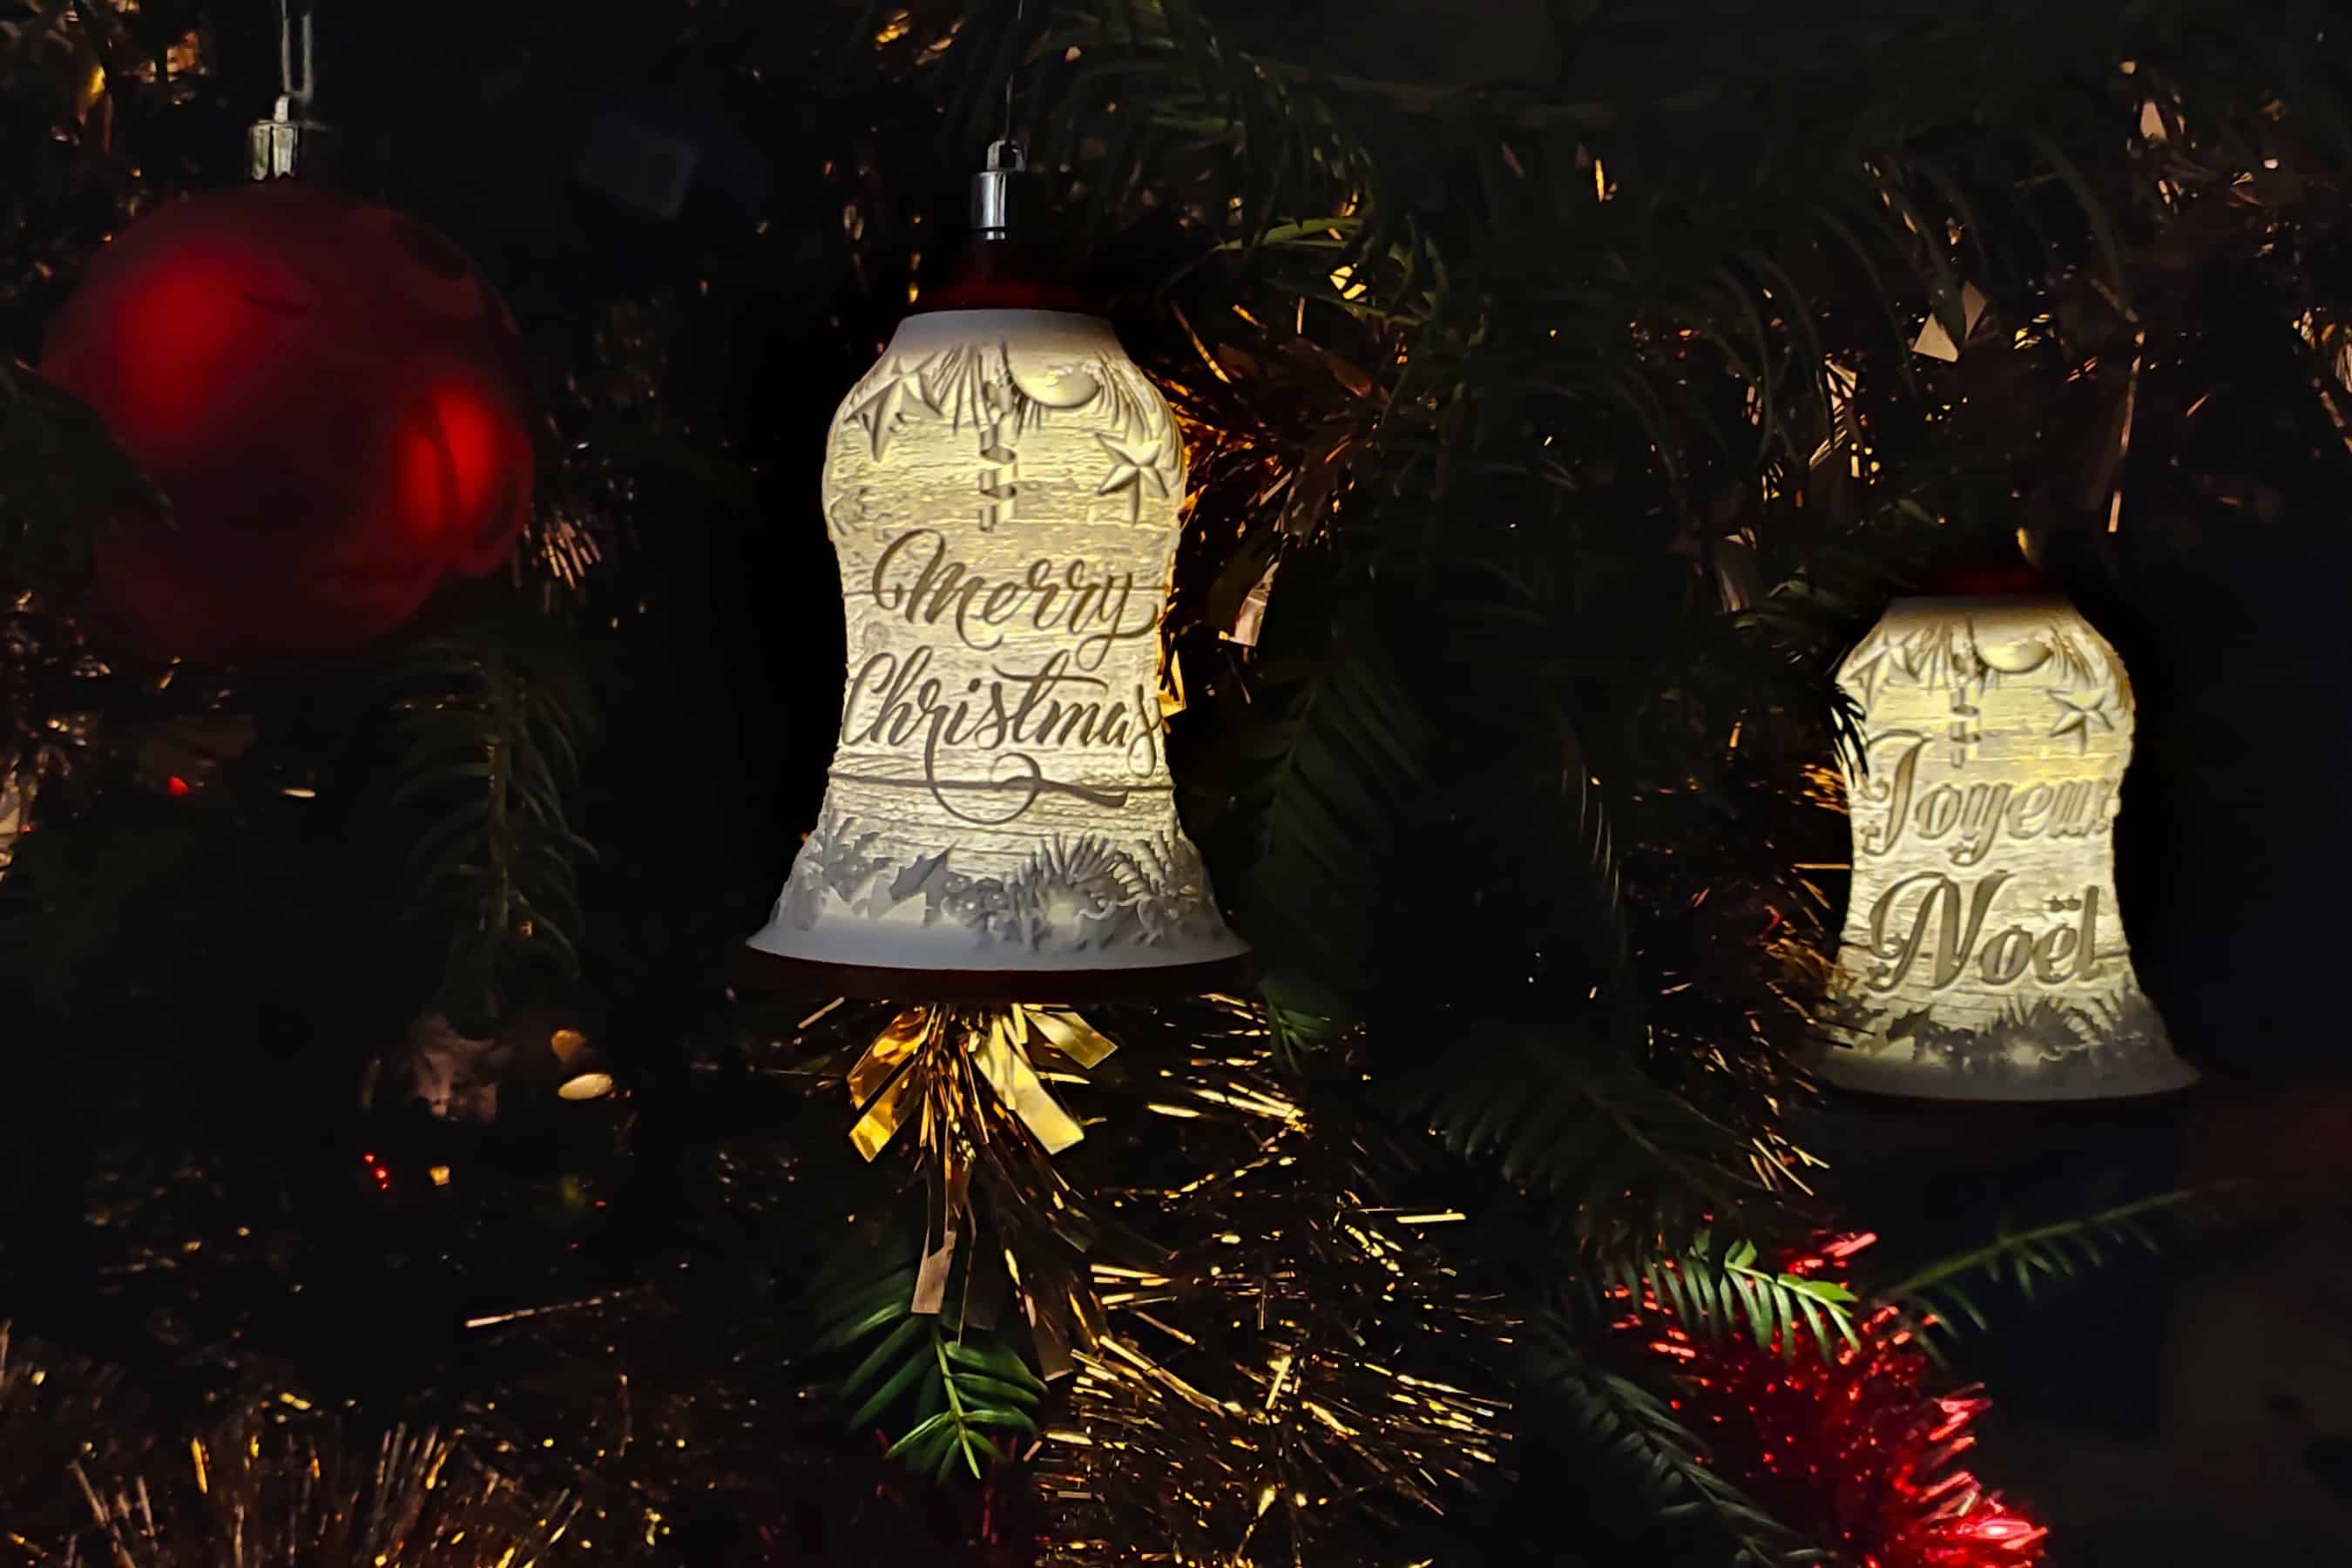
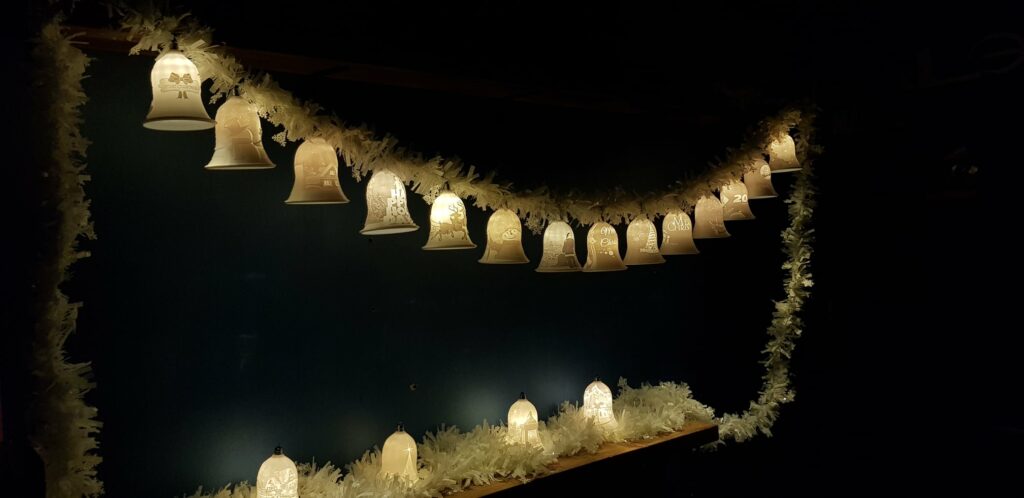
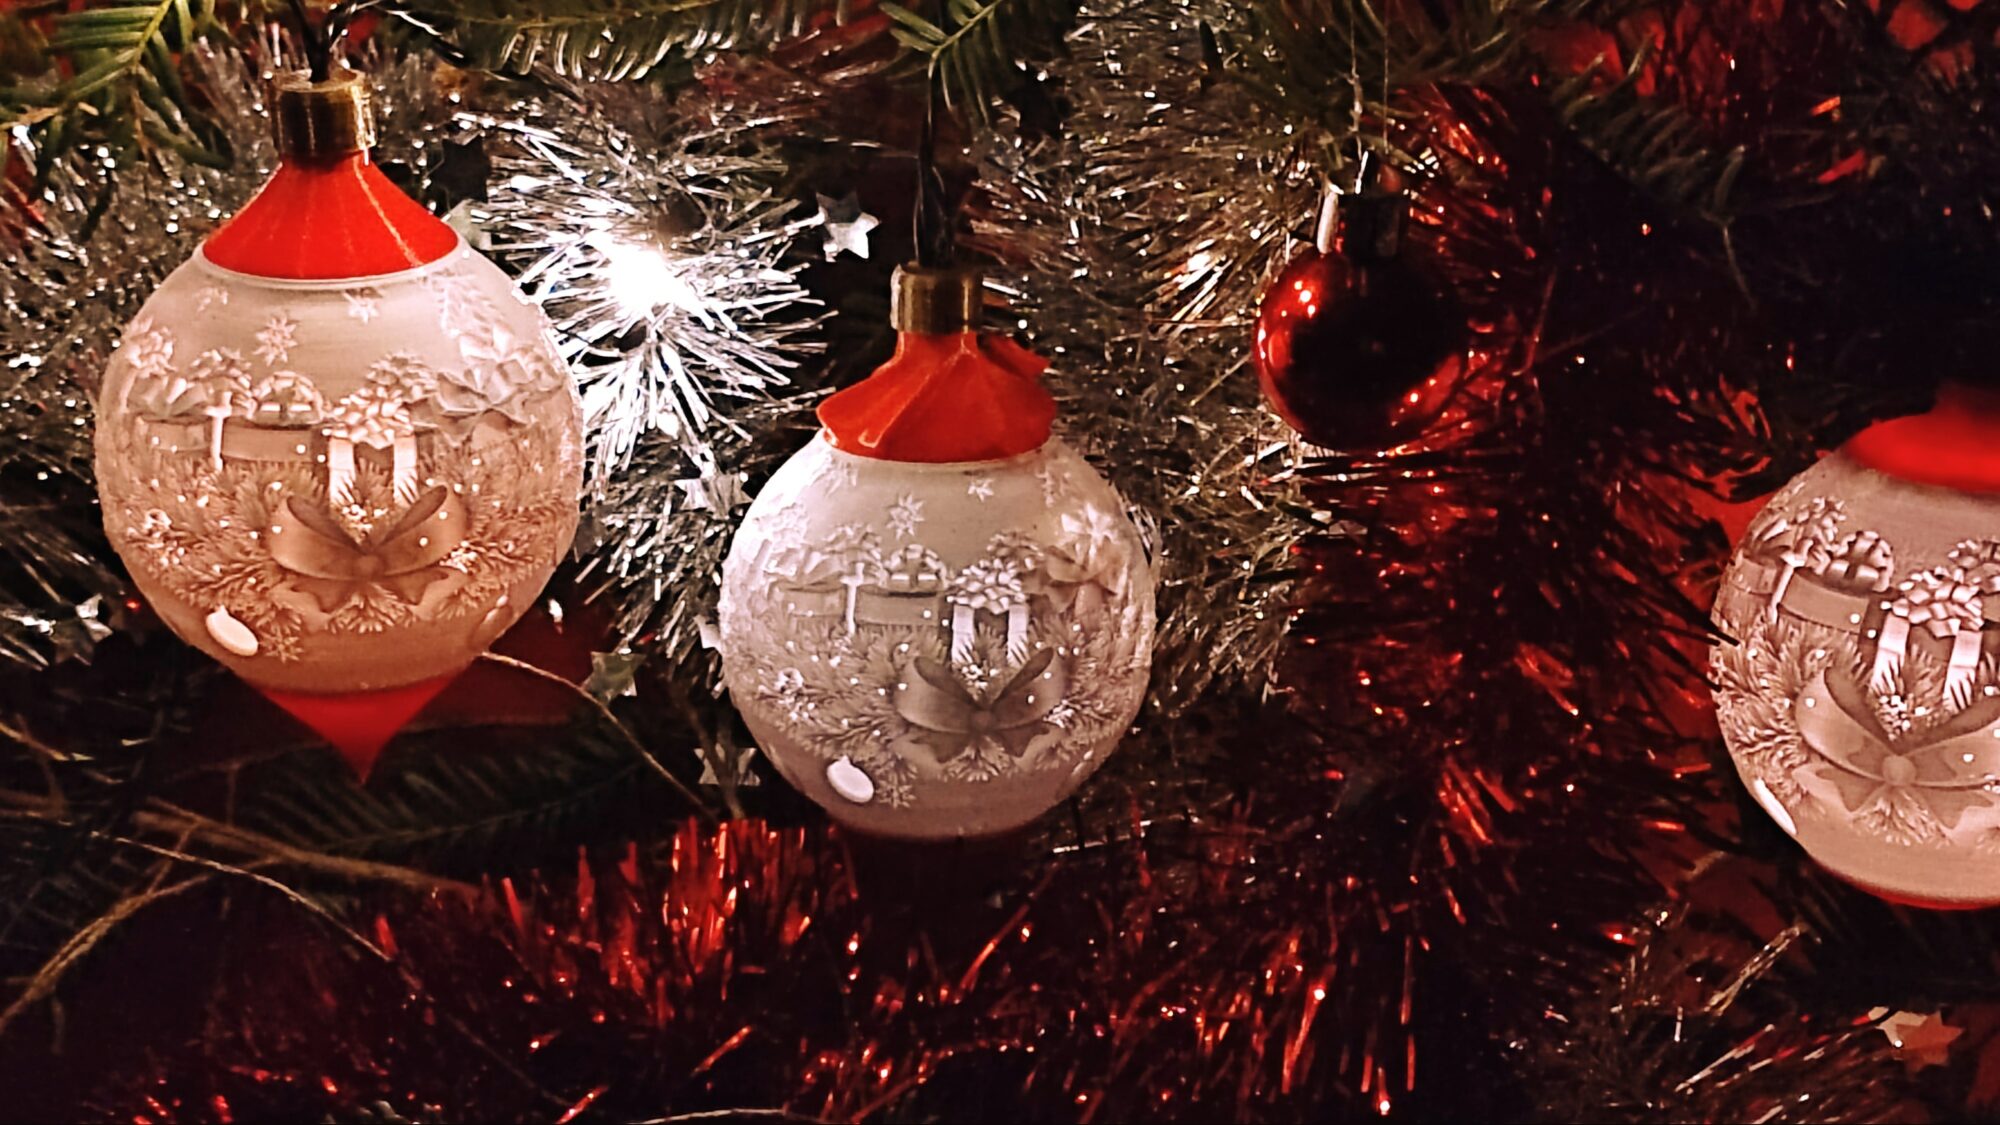
Display your Christmas bells
We have printed multiple Christmas bell lithophanes to test our new shape. This came out perfectly! It has found a permanent place in our Christmas decorations.