Looking for an original 3D Printed lithophane idea? In this guide, you learn how to make a 3D printed TV lithophane box!
Contents
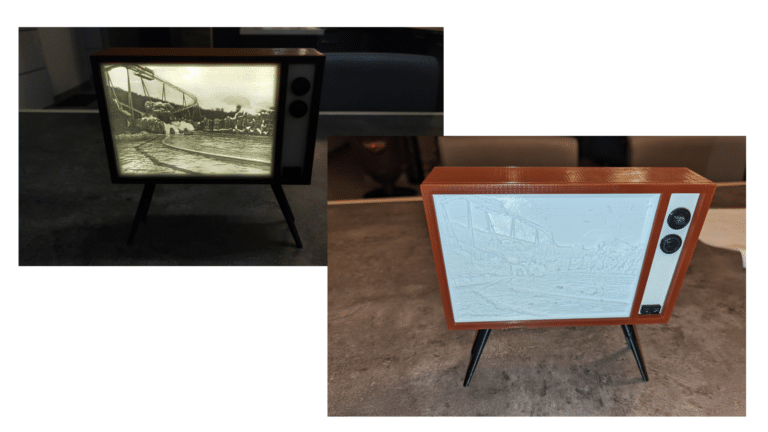
70s TV Lithophane box
Creating your 3D printed television Lithophane box
Great ideas are often made by thinking outside of the box. This idea, however, requires thinking inside of the box..
Anyways, thanks to Julien Bonnevie from Litho3D you can make this great design yourself! This guide will help you in making your own customizable old fashion 70s TV lithophane box.
The only constraint for your image will be to respect an 11×15 ratio. Basically, your image should have 11 heights for 15 widths.
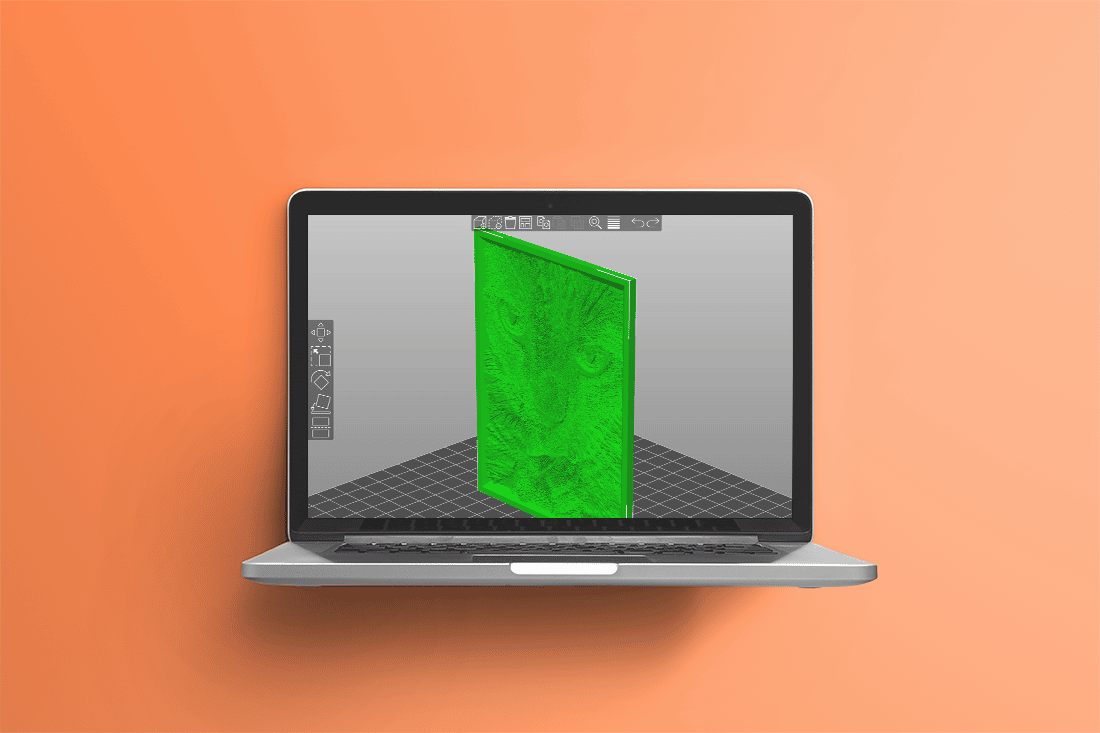
You can now upload your image in Itslitho and prepare it for the lithophane.
Prepare your image
Depending on the filament you are going to use, this could be more optimized. In our store, you can filaments that work well with lithophanes, and suggested min/max thickness.
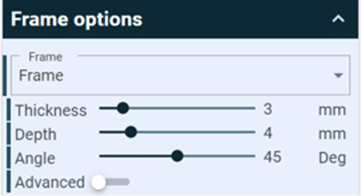
The second step will be to set the frame thickness at 3.0×4.0mm. You’l find this option in the “Frame options” menu.
The first step of the lithophane preparation will be to adjust the image size and the minimum (Min Thick) and maximum thickness (Max Thick) in the “model” tab under the “shape options”.
The image needs to be 150mm in width and 110mm Height. Regarding Min and Maw Thick, it’ll depend on the filament you use, but the 70s TV Box is compatible with a 3.8mm Max Thick.
You’re now ready to export and print your lithophane using your preferred slicer.
2
70s TV Lithophane box
Download & Print your Lithophane 70s TV Box
After downloading your lithophane, we need to download the 70s TV Box model for the lithophane.
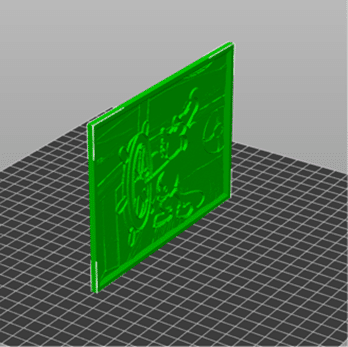
For the Lithophane, we recommend printing it vertically on the build plate.
You can find more Lithophane printing information & slicer setting tips here.
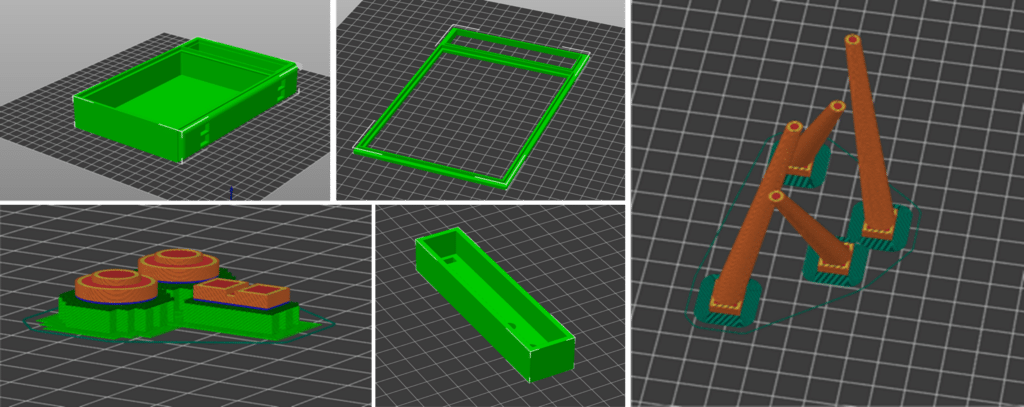
The other models can be printed as shown in the picture below.
3
70s TV Lithophane box
Assemble your 70s TV Lithophane Box
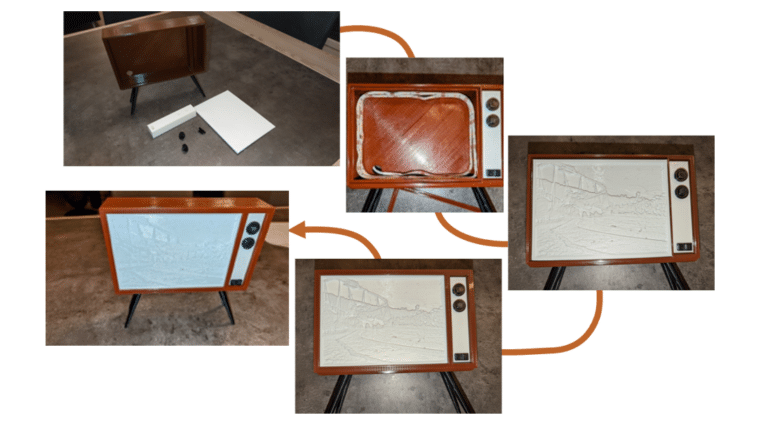
When all parts are printed, you can assemble the 70s TV Box.
To do this, you’ll need the following requirements:
A led strip. We used a led strip including a remote control with a plugging socket.
Some glue
A pair of scissors (optional)
Aluminum foil (optional)
First, glue the 4 legs on the TV Box. That been done, you can assemble the knobs on the control panel and the control panel itself in the TV Box.
It’s now time to install the led strip inside the TV Box. There is enough room between the lithophane and the back of the box to install two rounds of the led strip.
In the end, just cut the strip at the desired length. Optionally, you can add an aluminum foil inside the TV Box, on the back. It’ll improve the lighting and the end result.
The last steps for the assembly will be to install your lithophane and to fix it using the front frame. And it’s done.