Most likely you have seen those cool hexagon-shaped lights with LEDs, that can hang against your wall. They are really fascinating to decorate your room with.
But what if we told you, you can make your own Hexagon LED, but instead of a blank white surface, we put lithophanes on them?
That’s exactly what we did! We combined lithophanes & hexagon LEDs, and made it easy to make one yourself.
You can not only personalize them with your own photos, but you can also build the hexagon boxes exactly the way you like!
So let’s get started & design your own 3D printed hexaleaf lithophane!
1
The first step for making your Hexaleaf lithophane is by designing your own lithophane. If you have never done this, here is a quick Youtube tutorial on how to make one yourself!
For the Hexaleaf we need to use the Hexagon shape, so let’s go make one!
You can select the hexagon shape on our tool, but you can also click on this profile and load all the correct settings instantly.
Important for this design is to make it fit the Hexaleaf box, so we want to make it 100mm in size. And we need 6 sides to make it a hexagon.
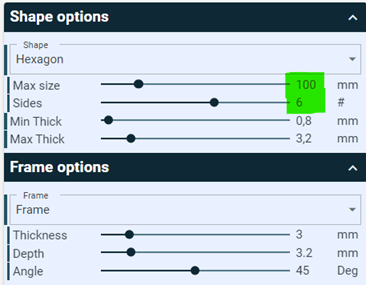
It’s important to know which filament you want to use for your lithophane. Every filament is slightly different, and therefore the minimum & maximum thickness could be different. We suggest taking a look in our store at what filament works well with lithophanes, and find which thicknesses work best for the specific filament.
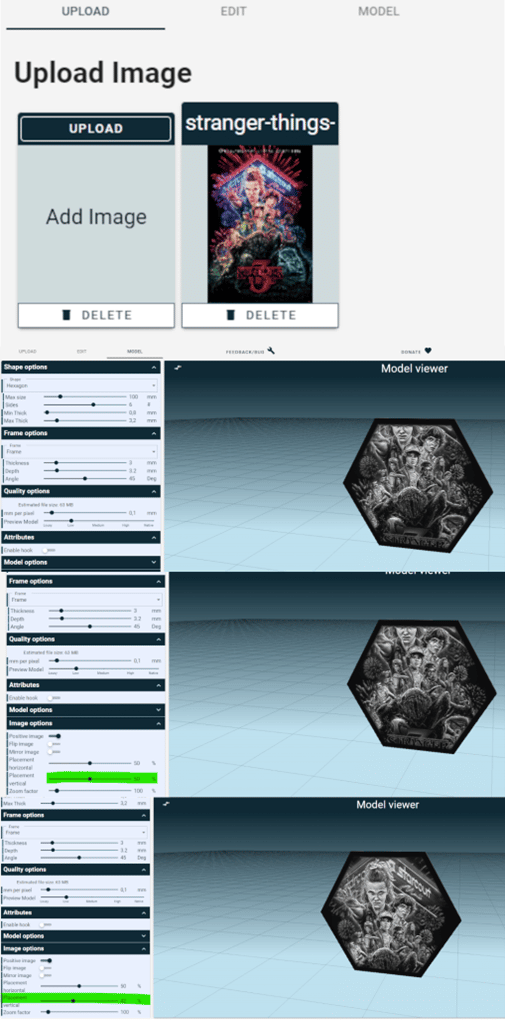
If your image doesn’t fit the hexagon shape as well as you hoped for. No worries! We can change the image options.
2
After downloading your lithophane(s), we need to download the Hexaleaf Lithophane Box model from Cults3D.
The download package contains:
Now we got all the files we need, we need to slice & print the models.
For slicing & printing your lithophane(s) we have written setting tips & provide you with free profiles here.
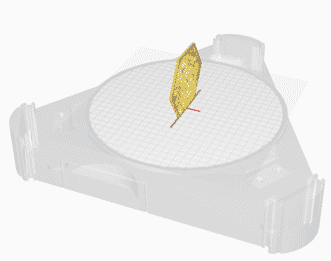
It’s best to print your Lithophane, vertically on the build plate for optimal details.
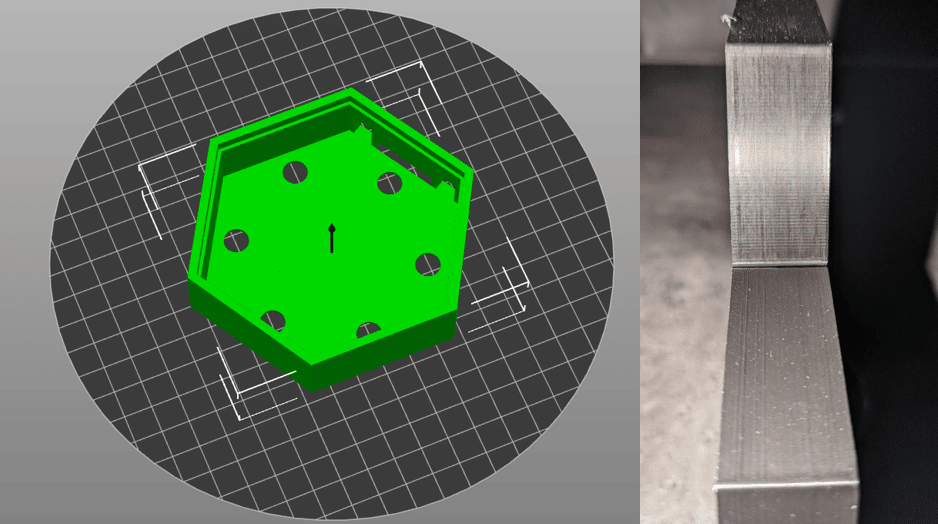
The Hexaleaf Box should be printed flat. Depending on the quality you are looking for you can print in layers from 0.12 to 0.28
In the image, you can see a Hexaleaf printed on 0.24.
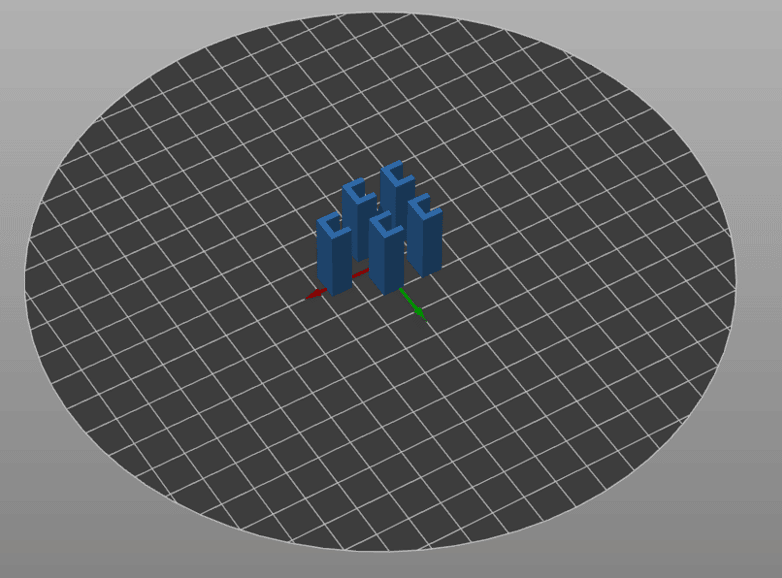
For the link parts, it’s best to print them vertically, as shown below. With a thickness between 0.12 and 0.24.
3
When all parts are printed, you can assemble the Nanoleaf Lithophane Box
To do this, you’ll need the following requirements:
It will be necessary to clip the connections to the boxes, and possibly glue them
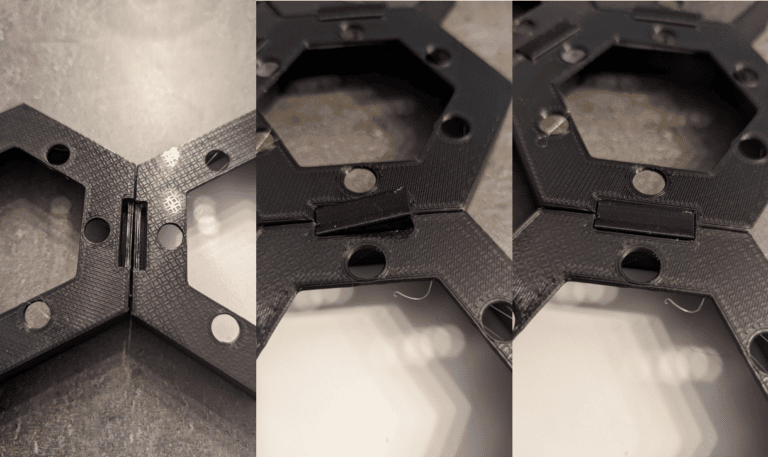
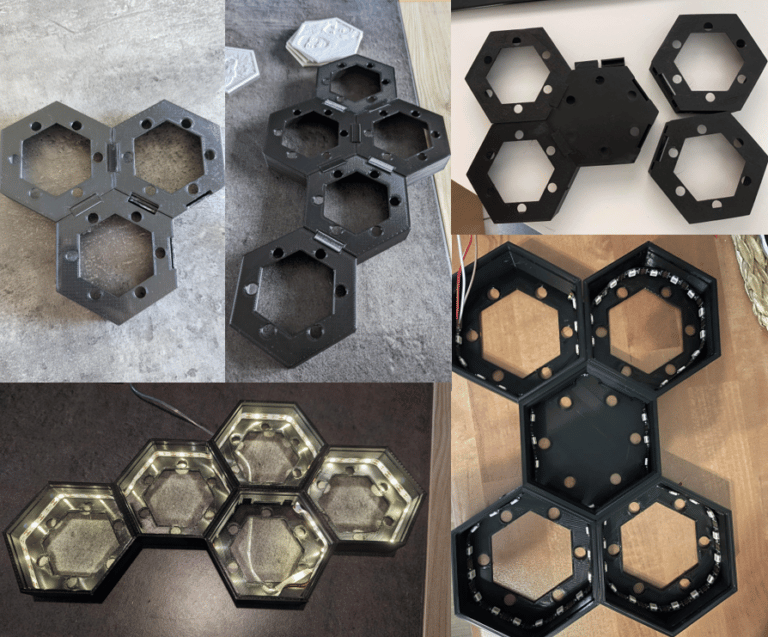
At last, you can add the lithophane box frames. This will make the design look nice & clean!
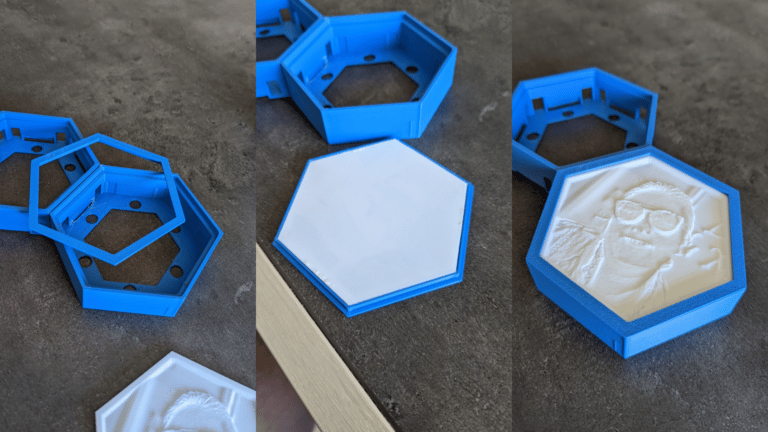
The last stages of the assembly will consist of installing your lithophane and fixing it using double-sided tape if necessary. And it’s done
Enjoy!