Traditional Dome Lithophane – 3D Printed Christmas Gift
By Ludovic Richter
Home » Featured » Traditional Dome Lithophane – 3D Printed Christmas Gift
In honor of the Traditional Porcelain Tea light lithophane holder, we made a 3D printable design from it! Learn how to make your own 3D Printed Traditional Dome Lithophane in this guide.
Contents
3D Printed Traditional Dome Lithophane
Create your own 3D Printed Dome Lithophane
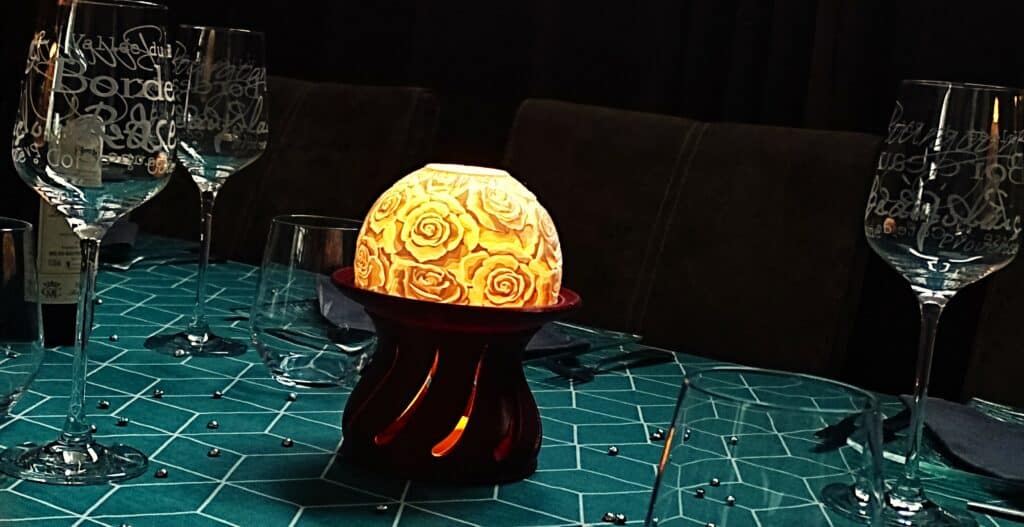
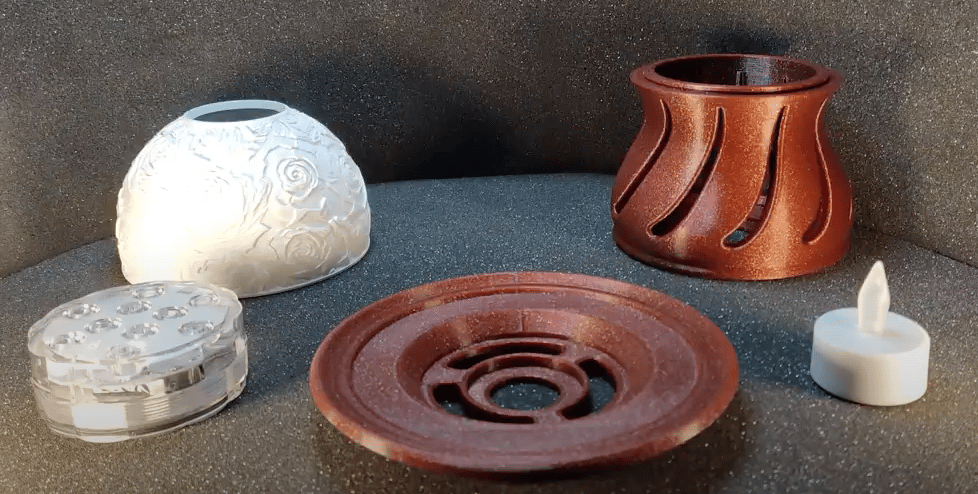
One of the most famous traditional lithophanes is a tea light lithophane. This is a dome-shaped lithophane on a plate on which you can put the tea light.
Intrigued & inspired by this lithophane, we have made a 3D printable design. And we are very happy with the results.
This design makes a perfect traditional 3D printed gift for Christmas. So let’s get into it!
$7.99Original price was: $7.99.$6.89Current price is: $6.89.
1
3D Printed Traditional Dome Lithophane
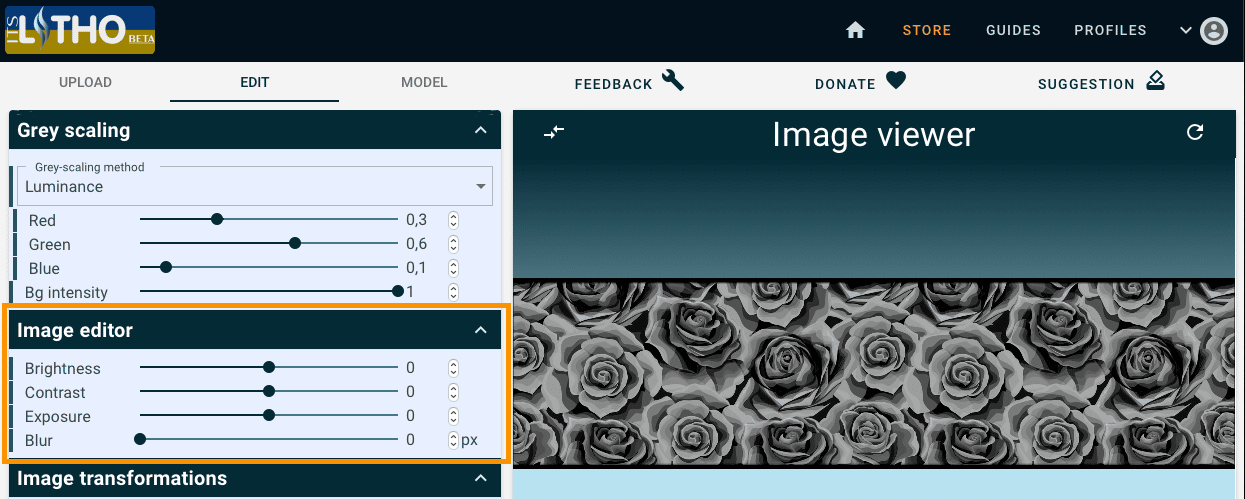
Personalize Your Lithophane
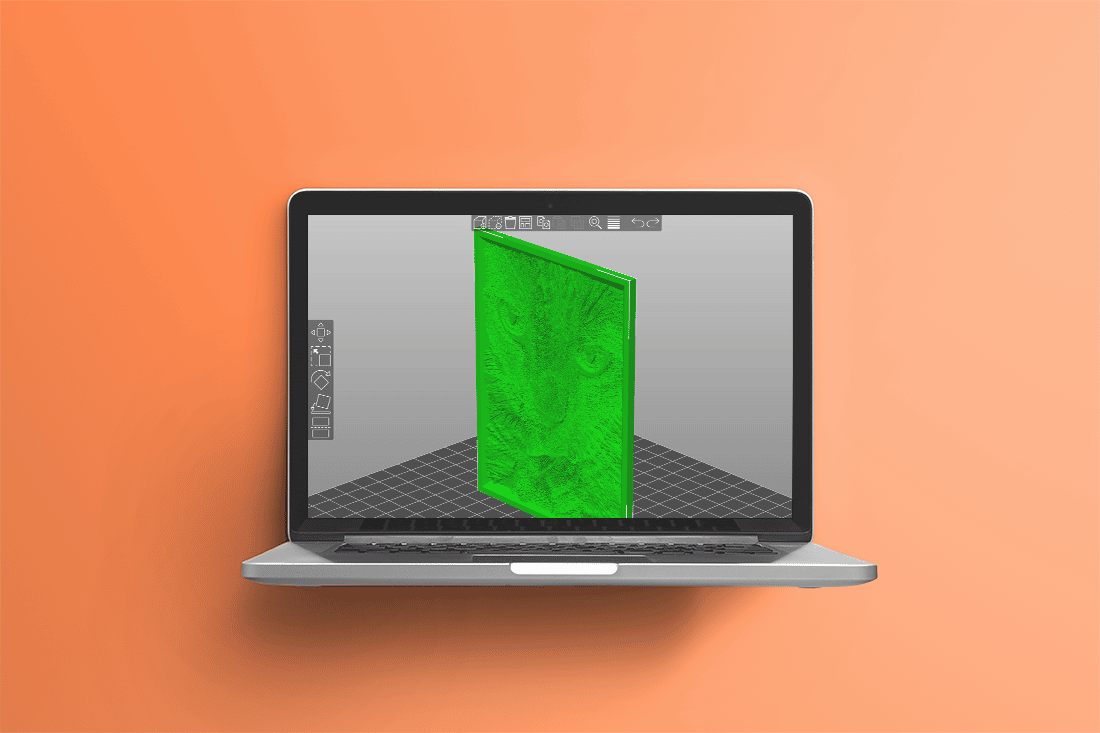
The first step for making your traditional dome Lithophane is by designing your own lithophane. If you have never done this, here is a quick Youtube tutorial on how to make it in ItsLitho.
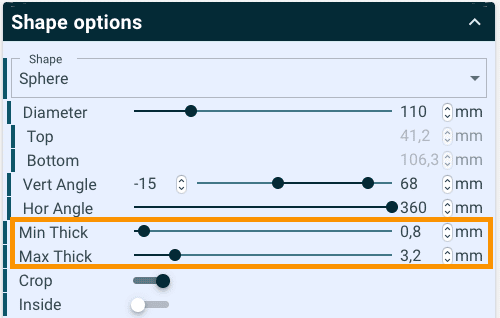
For the Traditional dome Lithophane we need to use the sphere shape, so let’s go make one!
Prepare your image
To get the correct shape directly you can click on this profile and your lithophane will load instantly inside the ItsLitho tool.
The only operation you have to do is to integrate your own picture to create your personalized lithophane and to adjust your min & max thickness depending on the filament you’ll use to print the lithophane.
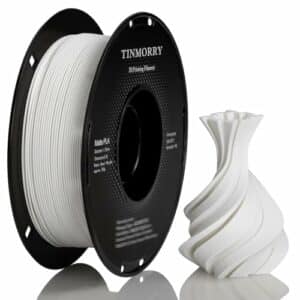
Every filament is slightly different, and therefore the minimum & maximum thickness could be different. We suggest taking a look in our store at what filament works well with lithophanes, and find which thicknesses work best for the specific filament.
Correcting your image
To ensure a proper fit of your image on the spherical Lithophane, it needs to have the proper ratio (Height:Length). For this model, the ratio should be 1:3,8, meaning the image should have a length 3,8 time bigger than its height.
After this first operation, you can play on image settings to improve brightness, contrast or any other parameter.
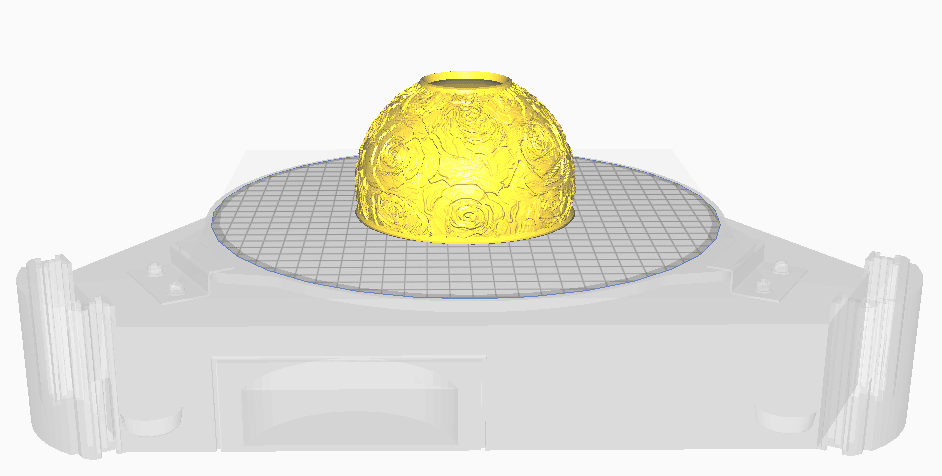
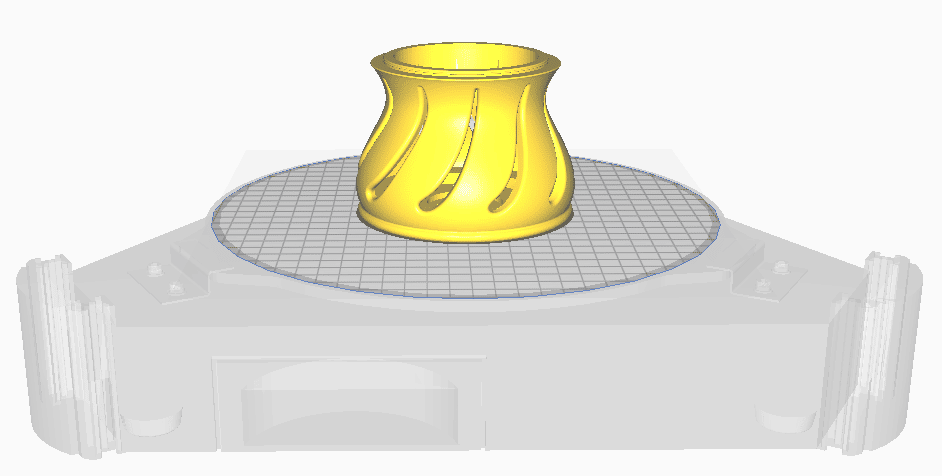
Now we got all the files we need, we need to slice & print the models.
For slicing & printing your lithophane(s) we have written setting tips & provide you with free profiles here and multiple tips on how to tweak to perfection.
For the Plate and the Stand, we suggest to print them flat on the building plate. No support needed. Nothing complex, just open, slice and print.
3
3D Printed Traditional Dome Lithophane
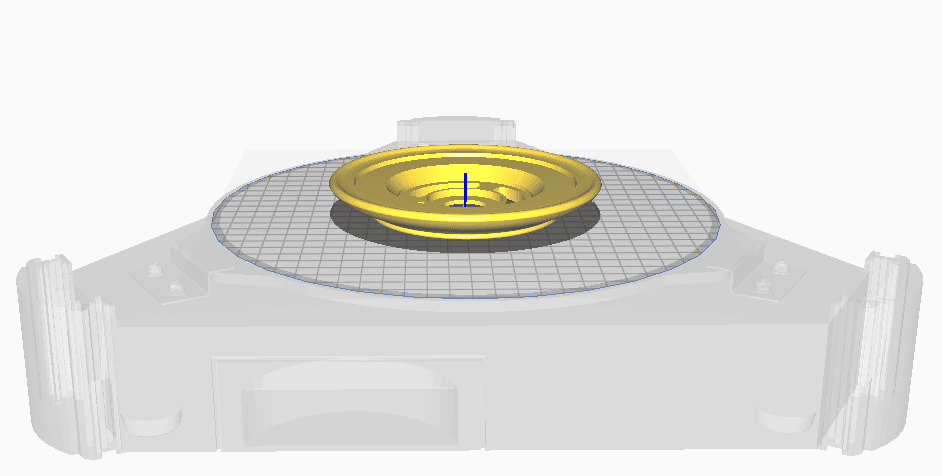
Assemble your 3D Traditional Lithophane
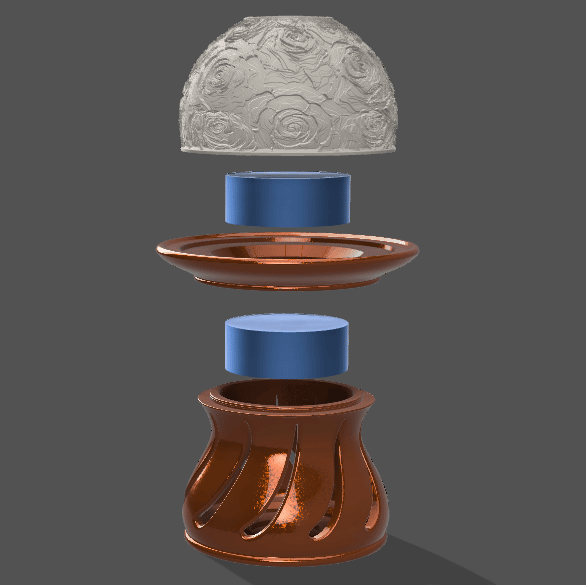
When all parts are printed, you can assemble the Photophore.
For the assembly, please refer to the following picture:
You just have to clip the plate on the stand and put the Lithophane on.
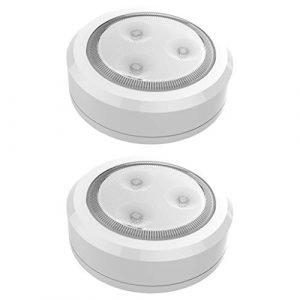
For the lighting, you can decide to use small led candle or Multicolor Puck led light in both Plate and Stand. You can also mix if you prefer.
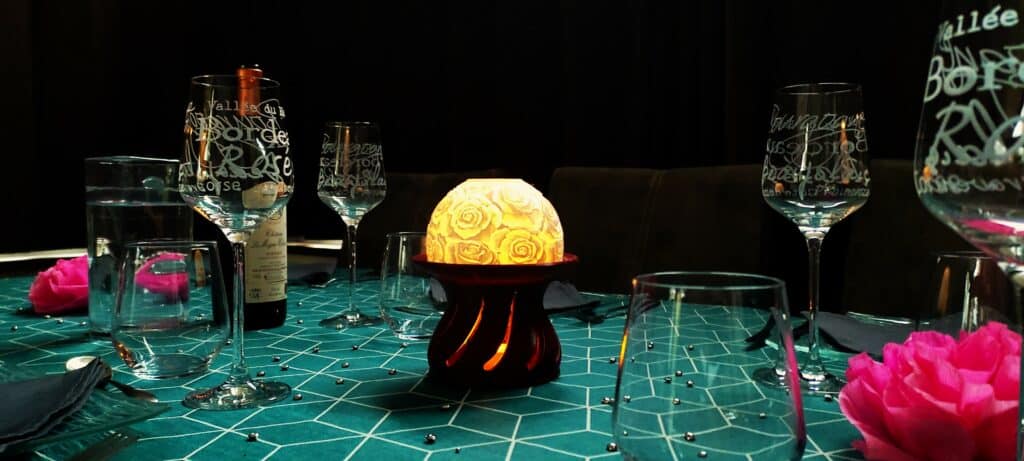
You’re now ready to create your own amazing traditional tea light lithophane. Light up the your lithophane & enjoy the magic!
Interested in more Christmas decoration? Click here for more Christmas creations!